
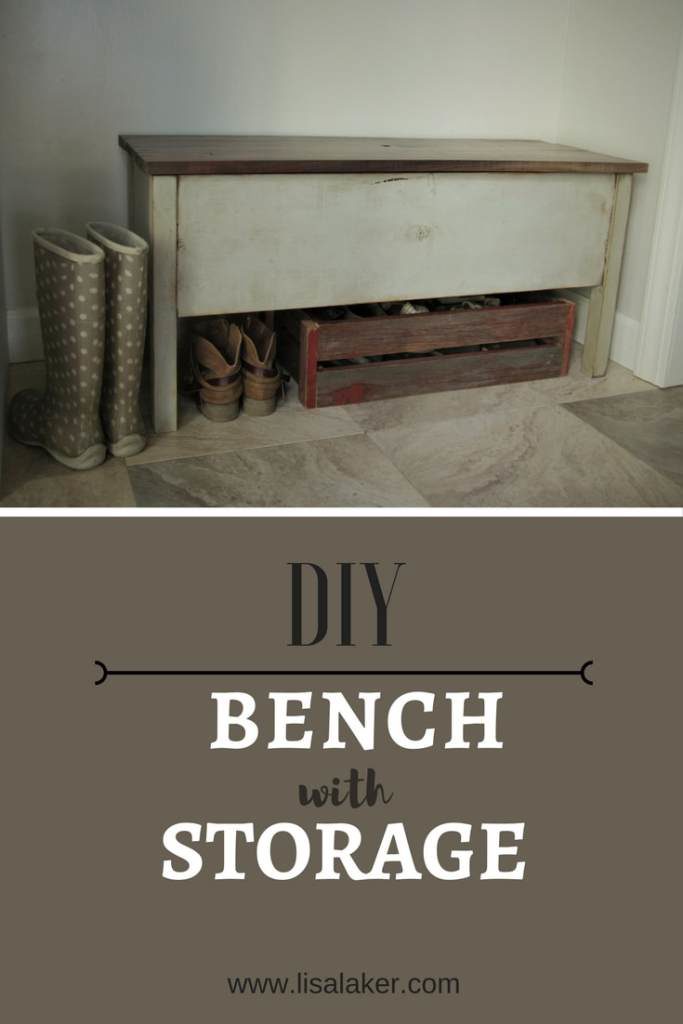
DIY Bench with Storage
Disclosure: This post includes affiliate links, which means I receive a small commission if you make a purchase through my links. There is no extra cost to you. Purchasing through my affiliate links help support my website so I am able to continue posting free content.
Here’s what you need:
Materials:
(2) 1 x 10 x 4′
(1) 2 x 2 x 6′
wood glue
(1) 12 x 48 x 5/8 plywood
(1) 1 x 2 x 36
(12) 1 1/4″ self tapping screws
1″ finish nails or brads
(2) barrel hinges
1 x 4 x 42 — your choice of wood
1 x 12 x 42 — your choice of wood

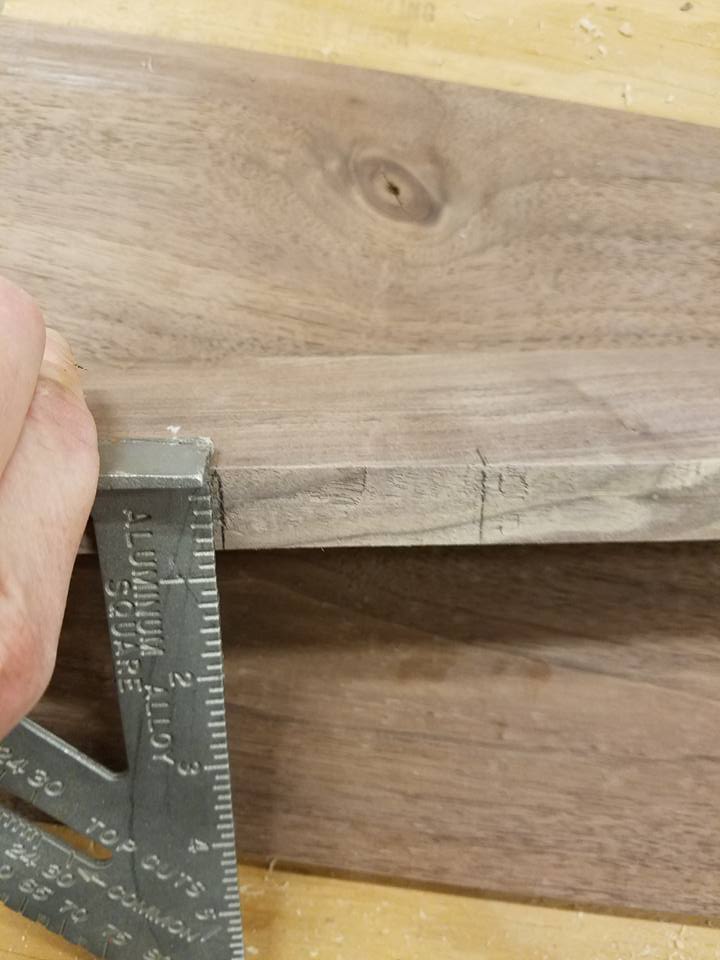
1. Cut 1 x 10’s into 36″ and 11″ pieces. Be sure to slightly trim each end to square it up.
2. Create a tenon on each ends of all 4 pieces.
3. Cut 2 x 2 into (4) 17 1/4″ pieces.
4. Transfer tenon measurements to top of legs.
5. Use a plunge router with a 1/4″ upspiral bit to router the mortise hole.
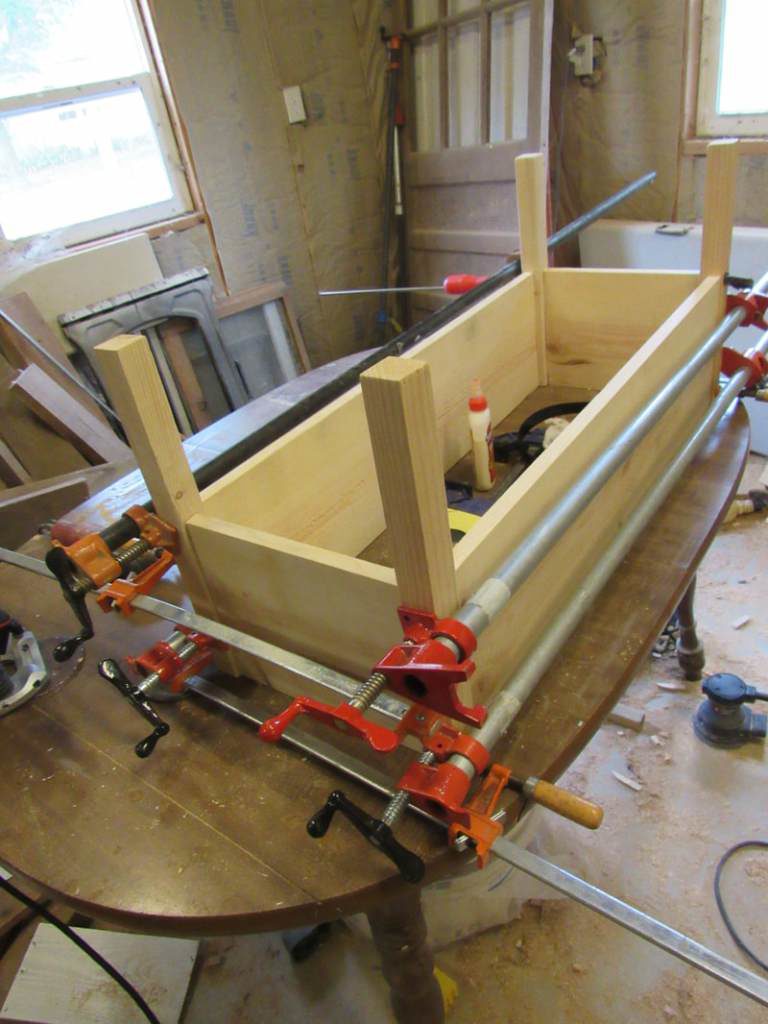
6. Spread glue around the tenons and insert into legs.
7. Clamp. If you only have 2 clamps, glue together one side at a time and allow to dry at least a half hour before removing clamps.
8. After bench is put together and dry, rip your 1 x 2 x 36 in half and cut to fit along the inside bottom of the long sides.
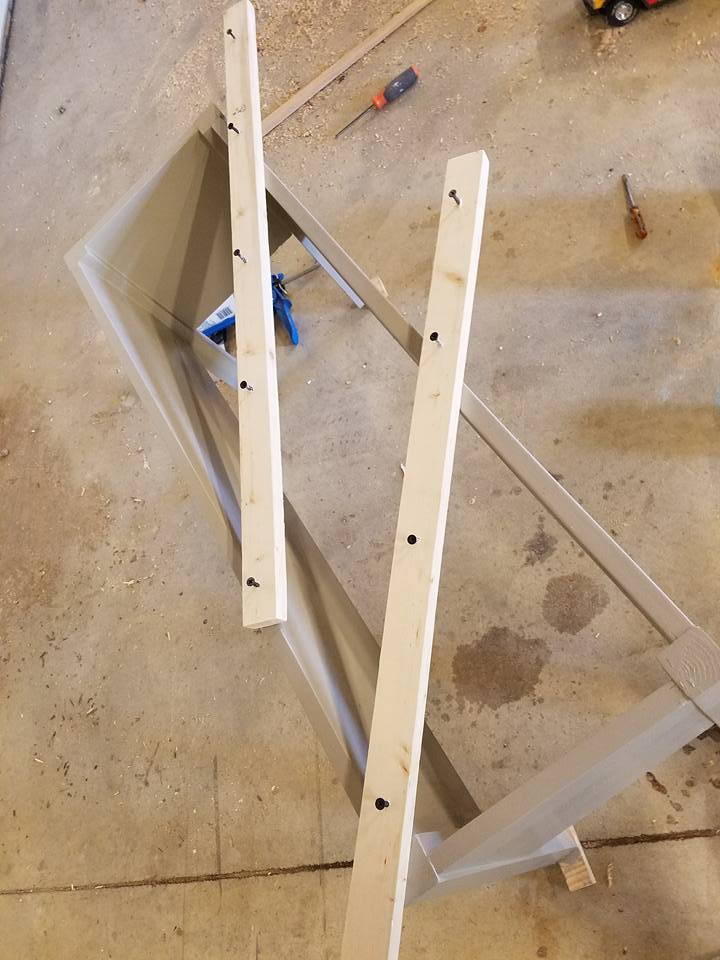
9. Use glue and screws to hold in place.
10. Cut plywood to fit bottom.
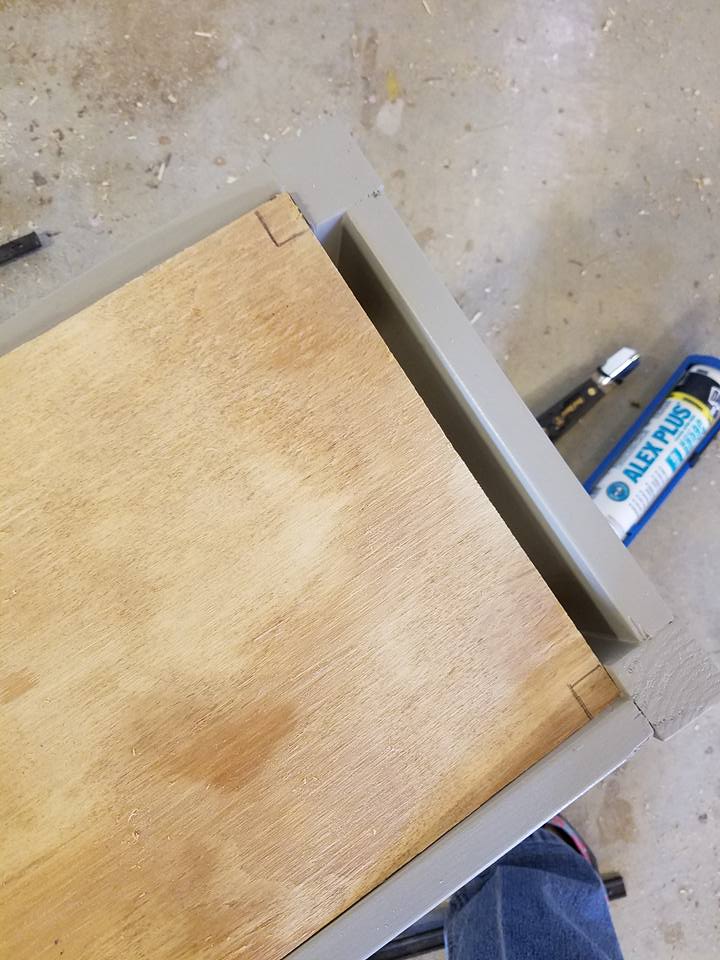
11. Nail into place.
12. Measure the width of your bench. Add 1″ and cut your bench top pieces to that length.
13. Place barrel hinge on edge of your 1 x 4 and 1 x 12. Trace around them.
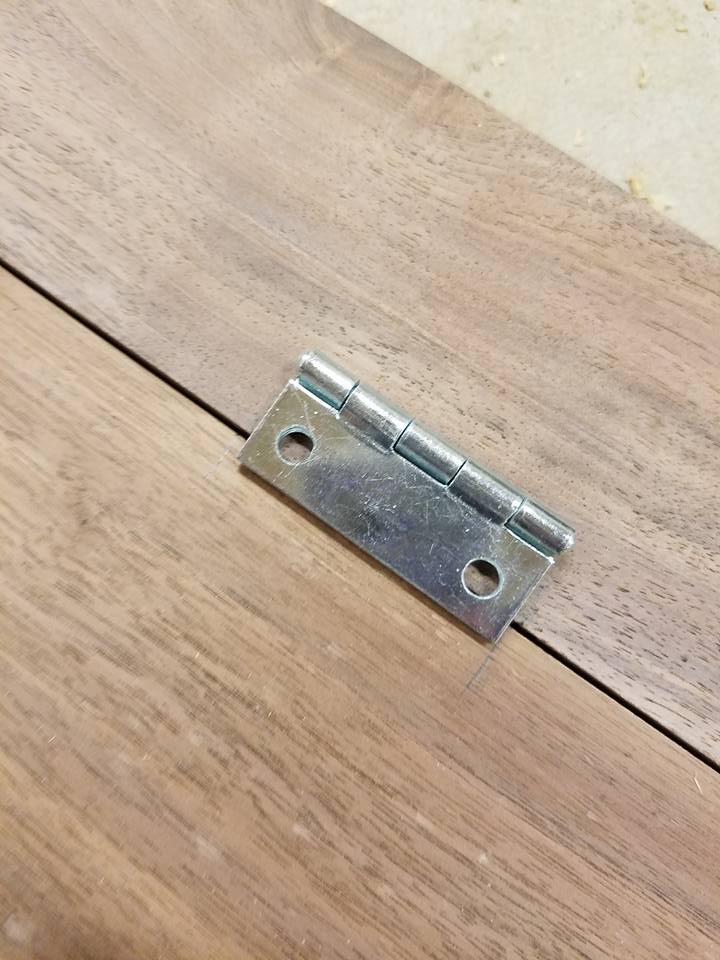
14. Use your plunge router to router out the depth of the hinge so the hinge can sit flush. Set hinges aside.
15. Finish your bench top. See what I did here.
16. Finish your bench base. See what I did here.
17. Attach 1 x 4 and 1 x 12 with hinges.
18. Set the top on, centering the sides and flush with the back. Nail the 1 x 4 into the back side and legs.
19. Enjoy!