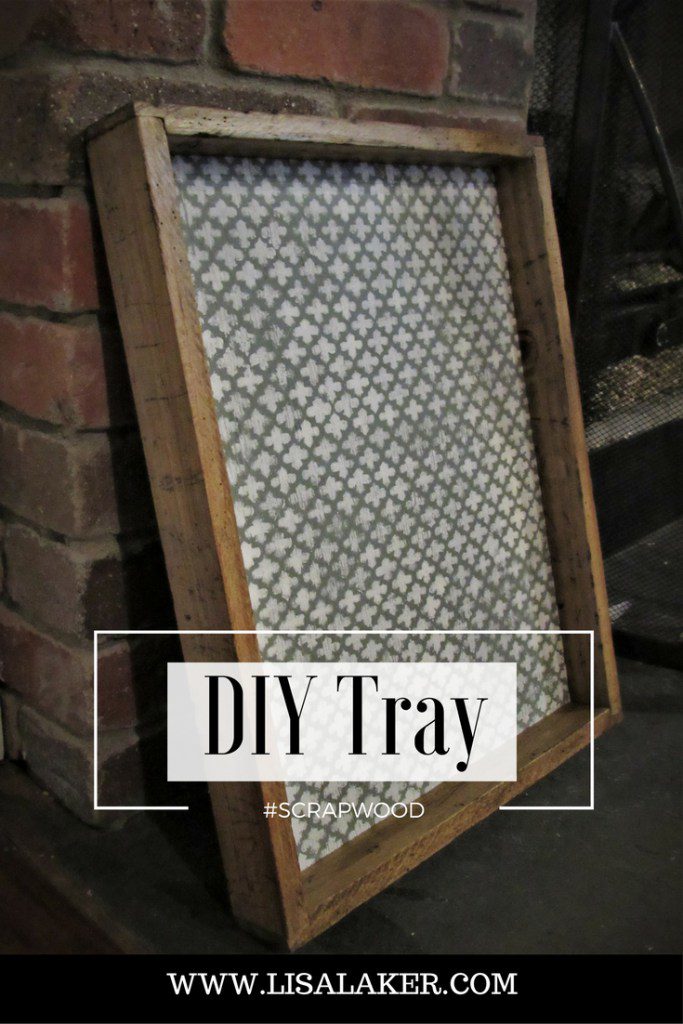
DIY Serving Tray
What you need for this project
Materials:
Scrap wood enough for (2) 1/2 – 3/4 x 2 x 16 and (2) 1/2 – 3/4 x 2 x 13
13 x 16 luan or 1/4″ plywood or other thin material for the bottom
glue
3/4″ Finish Nails
Paint
Stain
Satin Polyurethane
Stencil (if desired)
Disclosure: This post includes affiliate links, which means I receive a small commission if you make a purchase through my links. There is no extra cost to you. Purchasing through my affiliate links help support my website so I am able to continue posting free content.
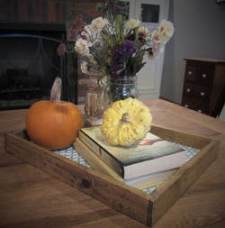
I don’t ever throw away scrap wood unless it’s completely useless. Then when I run out of projects ideas, I find little home decor items to make with scraps. Check out this tray!
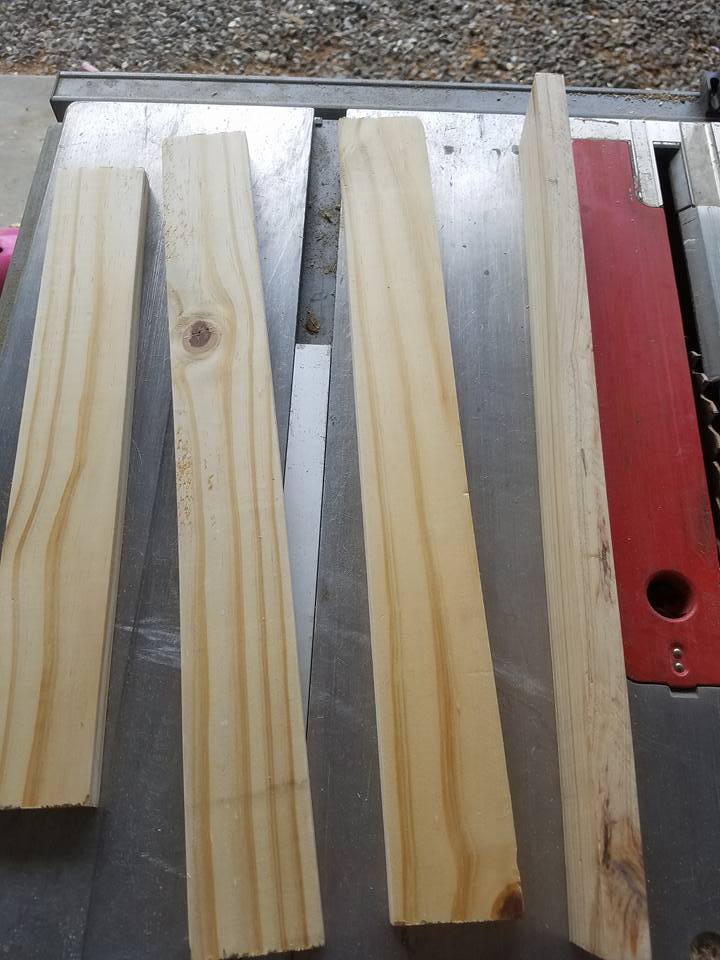
Cut wood to width and length.
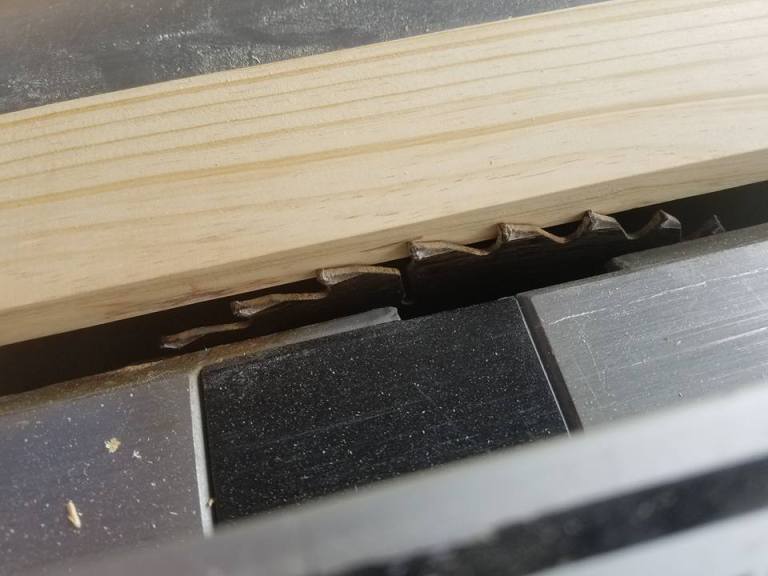
Cut a 1/4″ – 3/8″ wide groove for the bottom by setting the table saw blade at 1/2 the width of your board. Easily do this by placing a mark on the side of the board, set the board against your blade, and raise or lower the blade to the mark. Make a couple passes on the table saw to the width of your bottom. Test fit the bottom into the groove. It needs to slide in easily but not be loose.

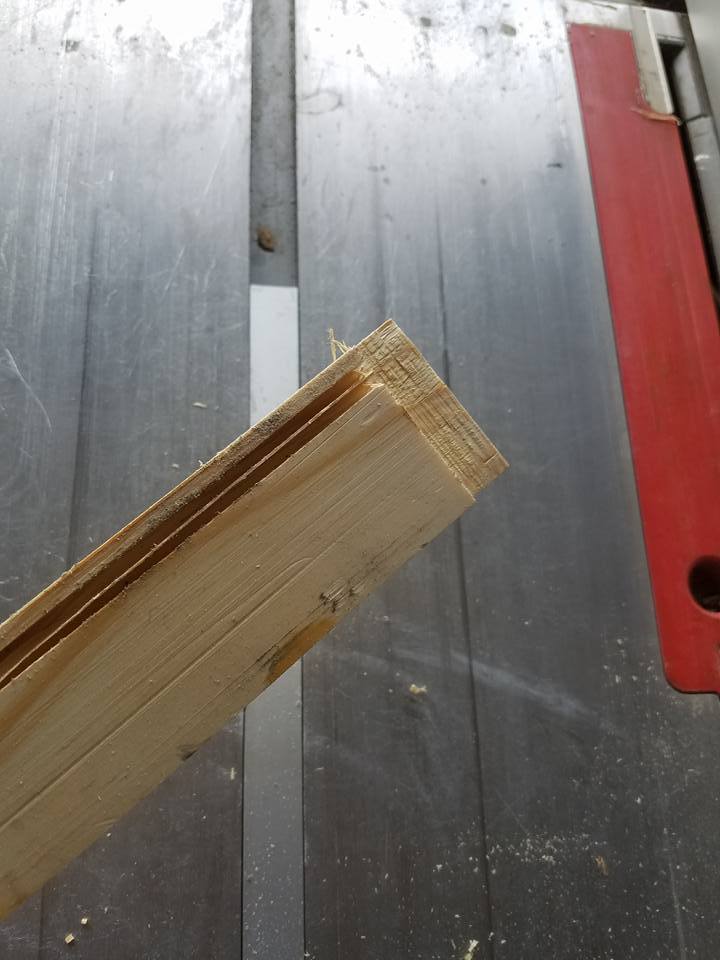
To create a rabbet joint, use the table saw to shave off the end, table saw blade set at the same height as the groove and the width of the board. Start by setting the fence on your table saw to the width of the board and pull the board away from the groove with each swipe. Do this to both ends of the (2) short pieces.
***I have seen plenty of tray plans witha butt joint instead of a rabbet joint. Gluing end grain isn’t a secure joint. Since the bottom of the tray can’t be glued (needs to be able to expand and contract, the joints holding the bottom need to be tight, secure joints.
***I have seen plenty of tray plans witha butt joint instead of a rabbet joint. Gluing end grain isn’t a secure joint. Since the bottom of the tray can’t be glued (needs to be able to expand and contract, the joints holding the bottom need to be tight, secure joints.
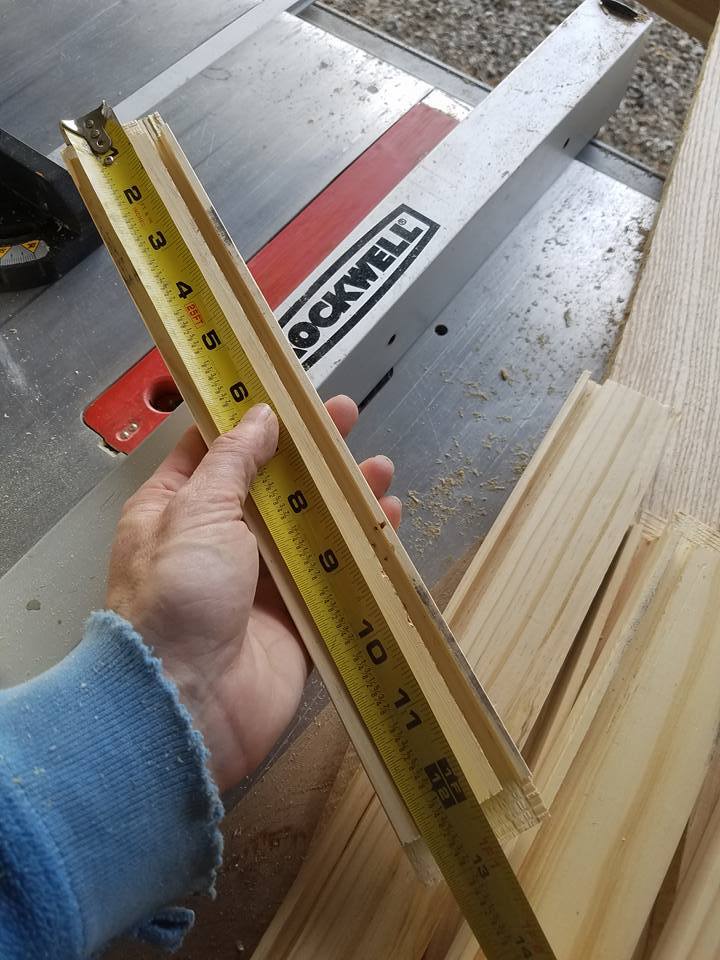
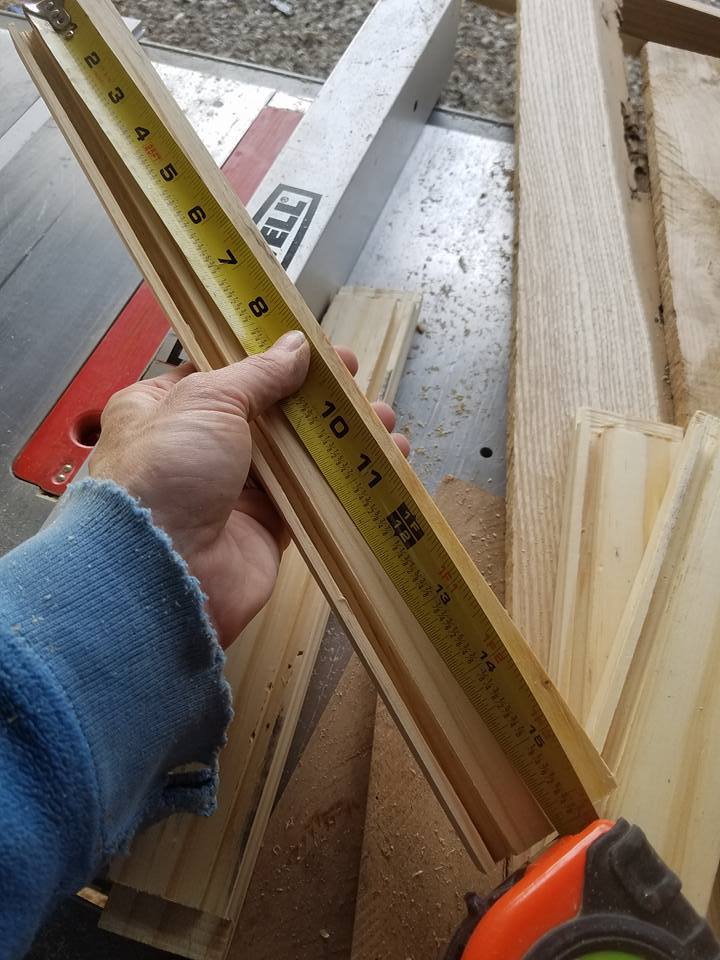
Cut the bottom. To figure out the exact size, measure the length of the your long piece and deduct 1/8 of an inch. Then measure the length from the outside edge to the inside of the rabbeted edge on your short piece and deduct 1/8″. Cut the bottom. Dry fit the tray together and make an necessary adjustments.

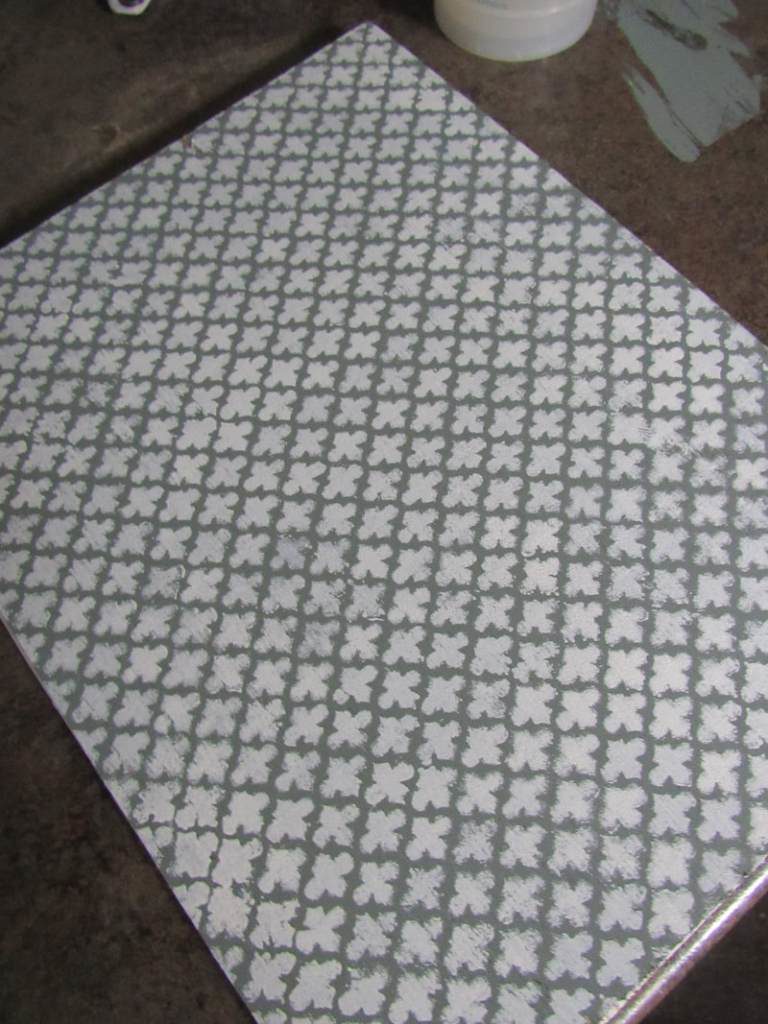
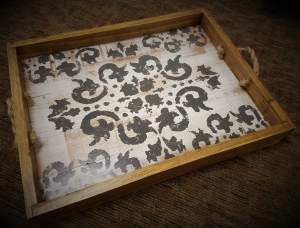
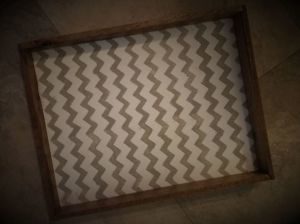
Sand sides and bottom with 220 grit sandpaper. Finish the bottom and sides separately. I stained the sides with minwax dark walnut after scraping the sides and edges and adding nail holes and I painted the bottom grayish green and stenciled in with white. After it dried, I sanded it with 220 grit sandpaper.
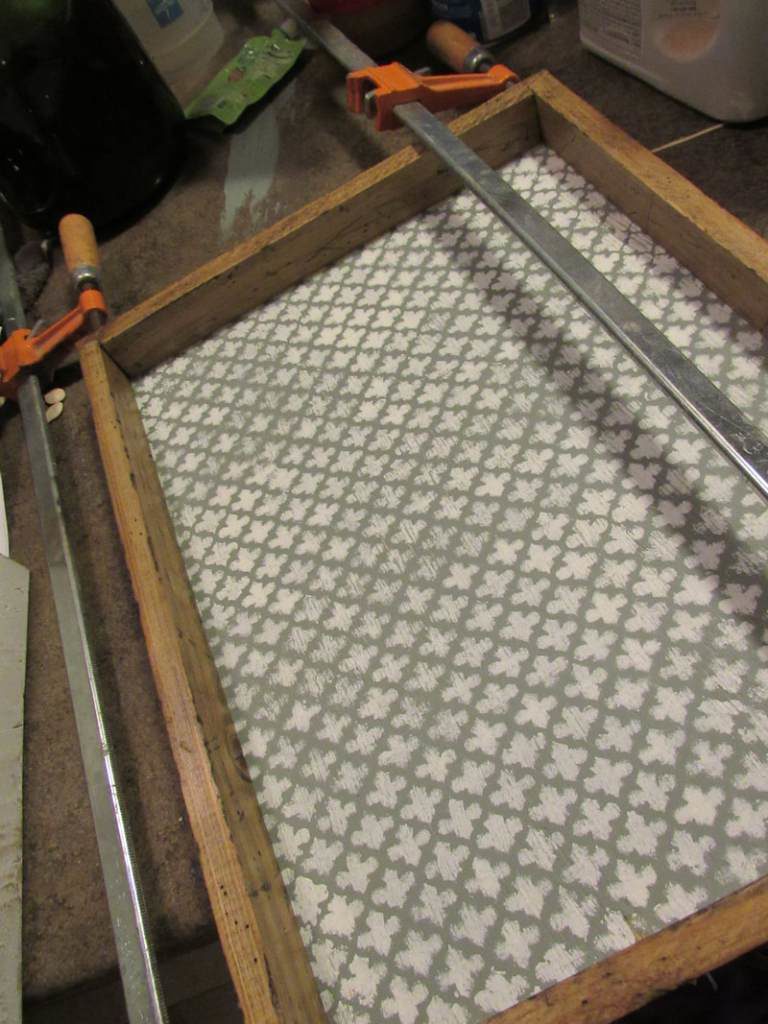
Apply a generous amount of glue to the rabbeted edges and slide the bottom panel into the groove. Attach the rest of the sides and clamp. Allow the glue to dry for at least 30 minutes and reinforce the edges with finish nails.
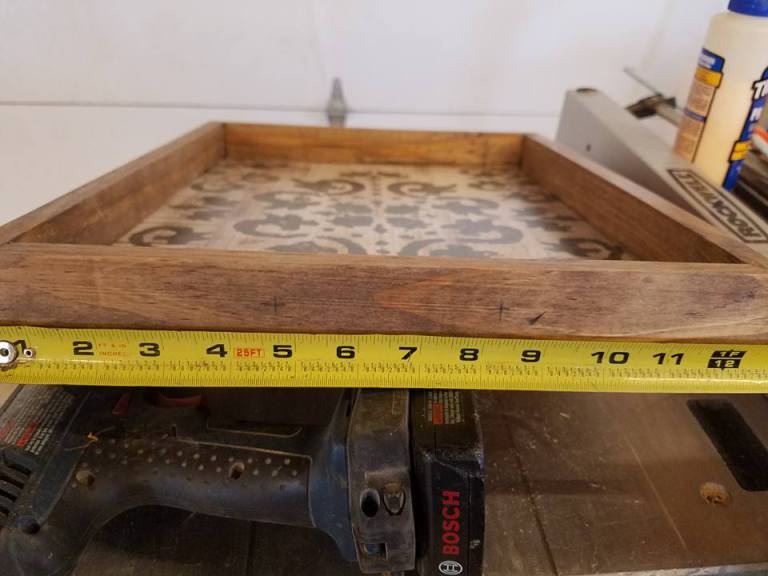
For rope handles, place a light pencil mark on the center of the short tray side. measure 1 3/4″ from each side to create a 3 1/2″ section. Place another mark over it 3/4″ down from the top. Drill with a 1/2″ or 3/8″ drill bit. Since my hole still wasn’t large enough, I rocked the drill back and forth a little to widen it more.
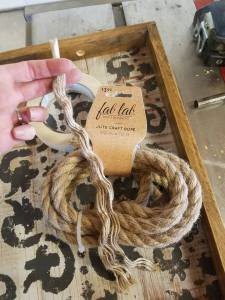
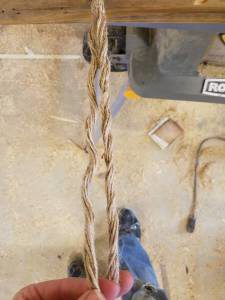
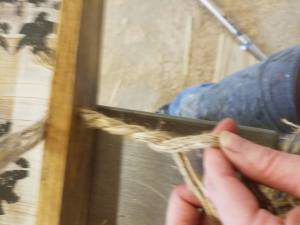
Since my rope was 3 strand, I only needed to use 1 strand. Put tape on one end to thread it though your predrilled hole. Split the rope in half to tie a knot on the inside. Then split the threads apart again on the outside and wrap them around each other to recreate the rope. Then thread the other side through and tie a knot. Use fabric glue or super glue to secure the knot and then trim the ends.


Pingback: Repurposed Wood Flooring Tray - Lisa Laker Interior Design