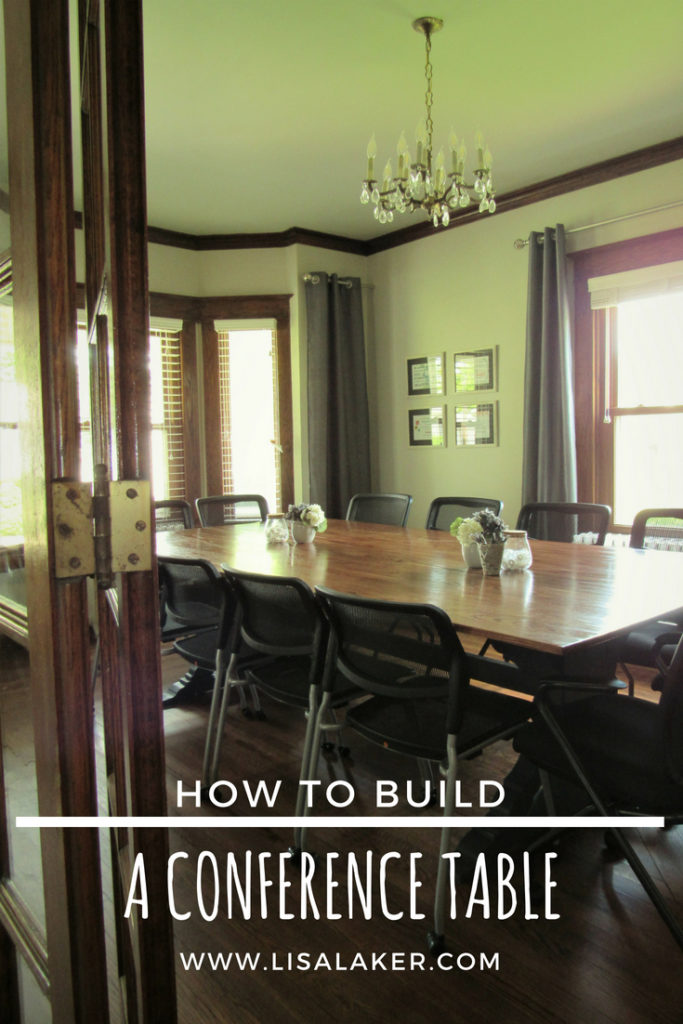
Large Trestle Table – Conference Table Plans for 12
We recently converted a 120 year old home into an office for our church. Several pieces of furniture were donated including a very nice solid oak table with six chairs. The plan was to use the table in the conference room as a meeting table. But the size of the table brought me to plan something a little bigger… okay a lot bigger! This conference table for 12 measures 54 x 108.
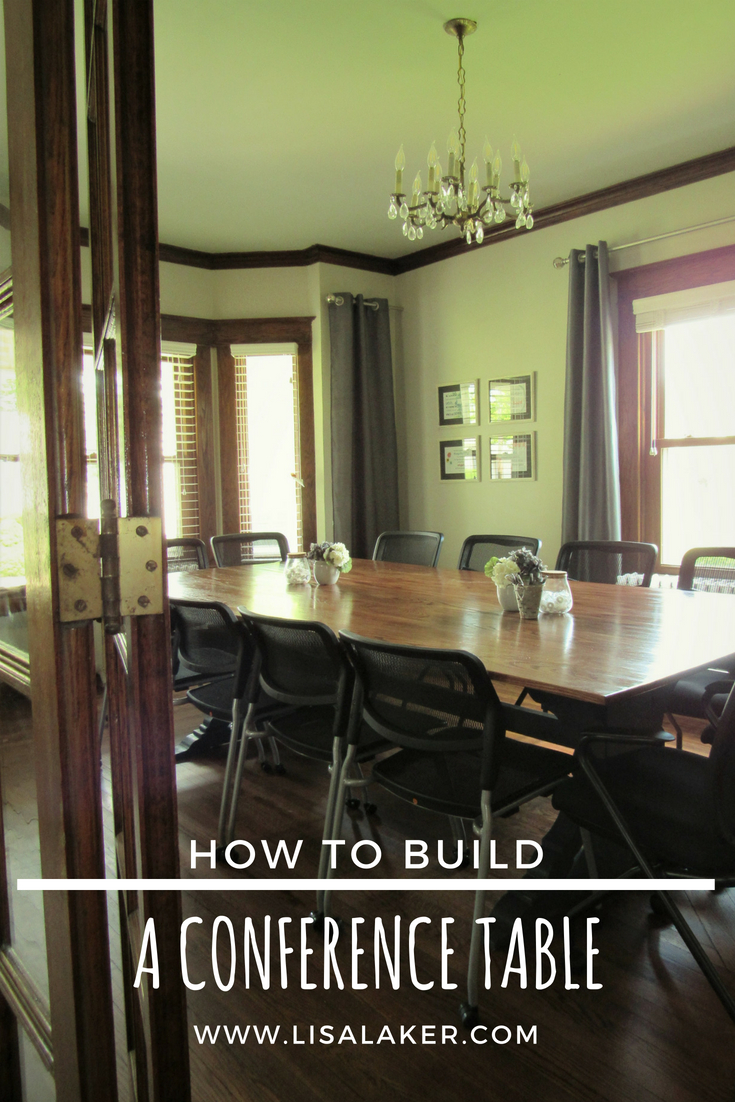
Here’s how I built it:
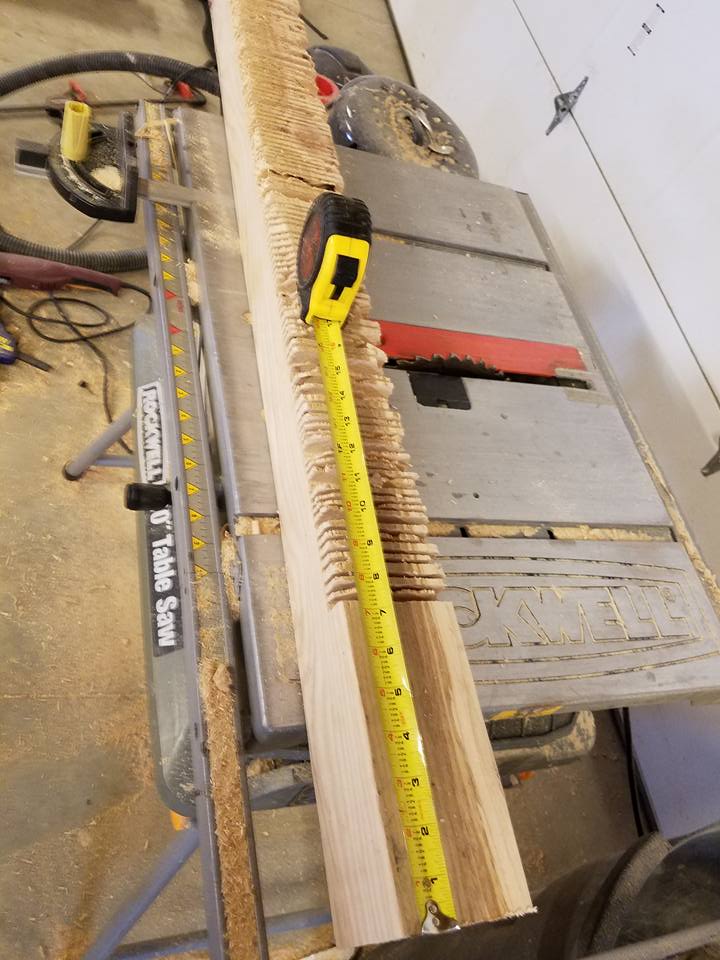
First, I cut (2) 4x4x8’s into (4) 40″ sections. Measuring in 7″ from each side, I used my table saw to cut slits in (2) of the pieces of the wood approximately 1″ deep.
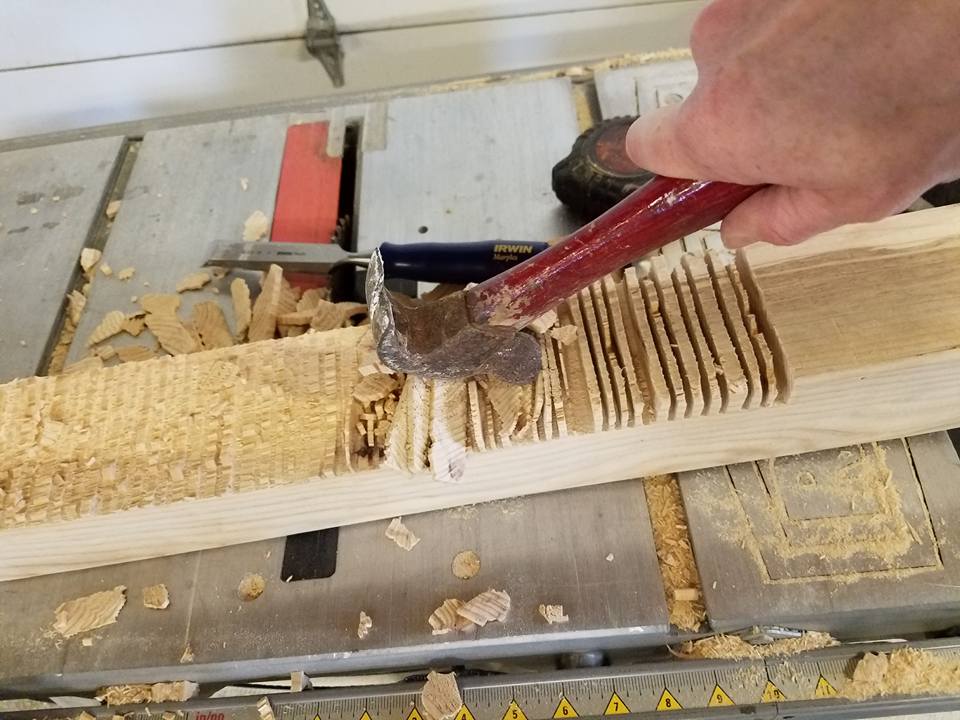
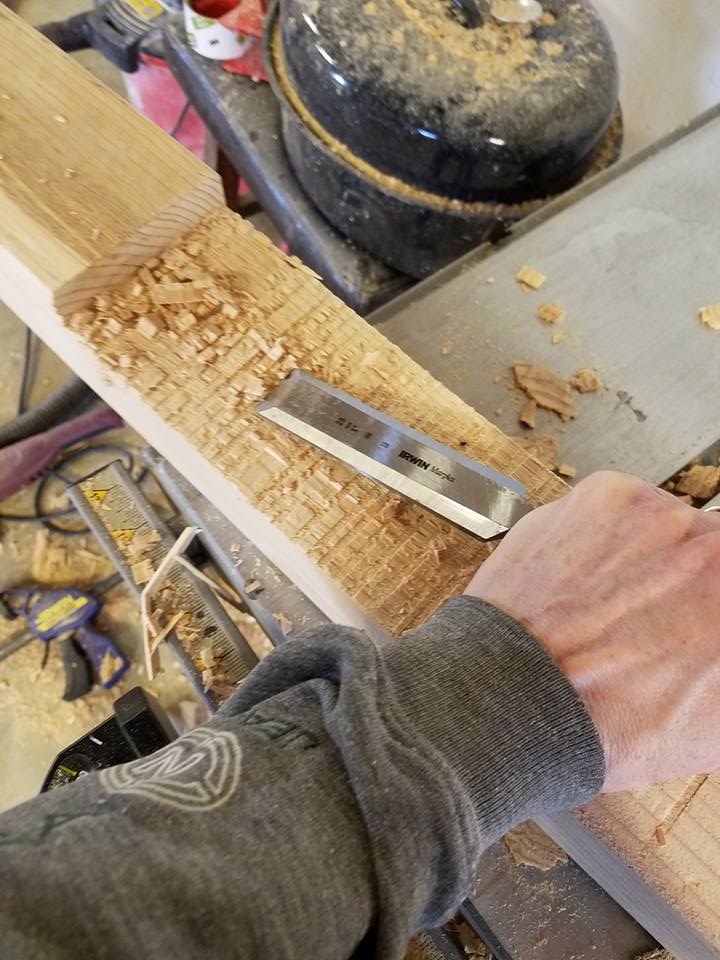
Then I hammered all the slits to break them off and used a chisel to smooth some of the high areas.
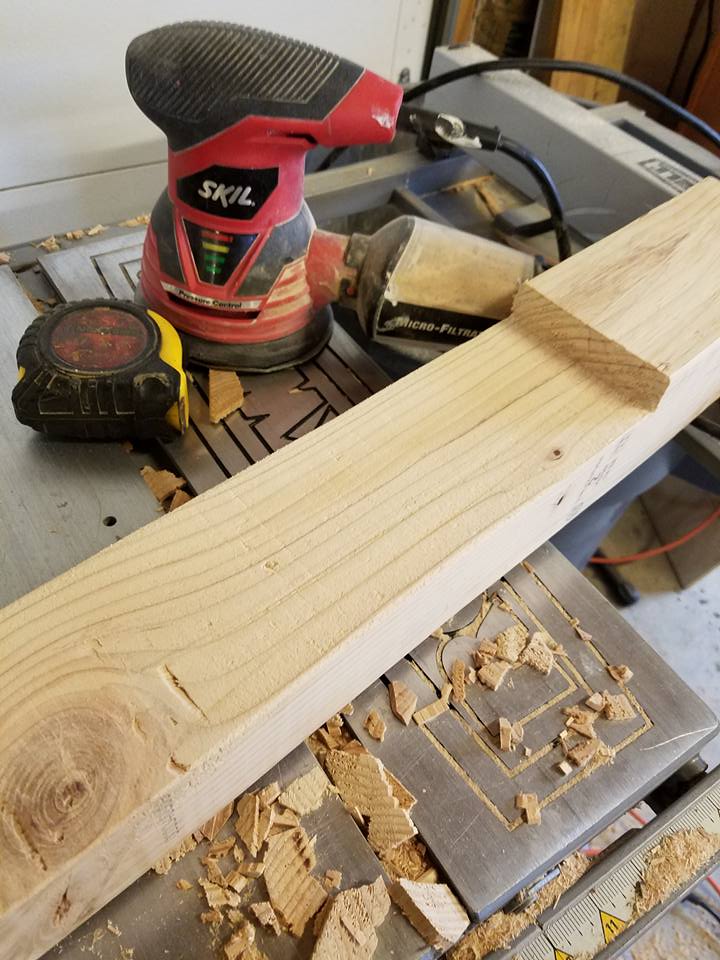
Then I used a sander with 120 grit paper to finish smoothing.
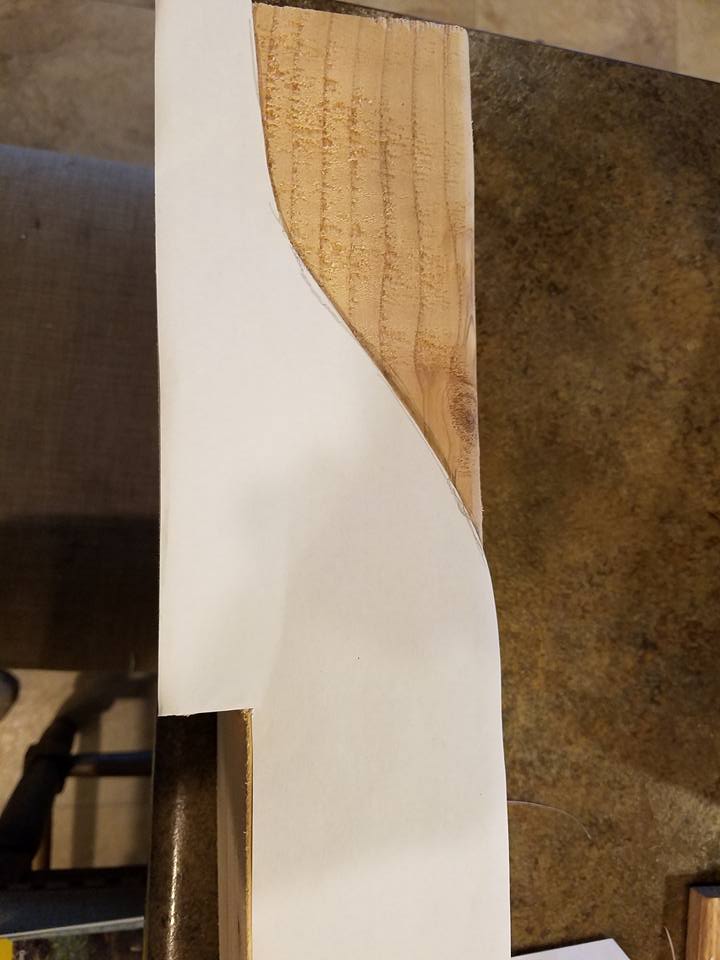
To create some shape on the feet, I created a template from a piece of paper and traced into onto both ends of all 4 pieces (this wasn’t necessary for the top though).
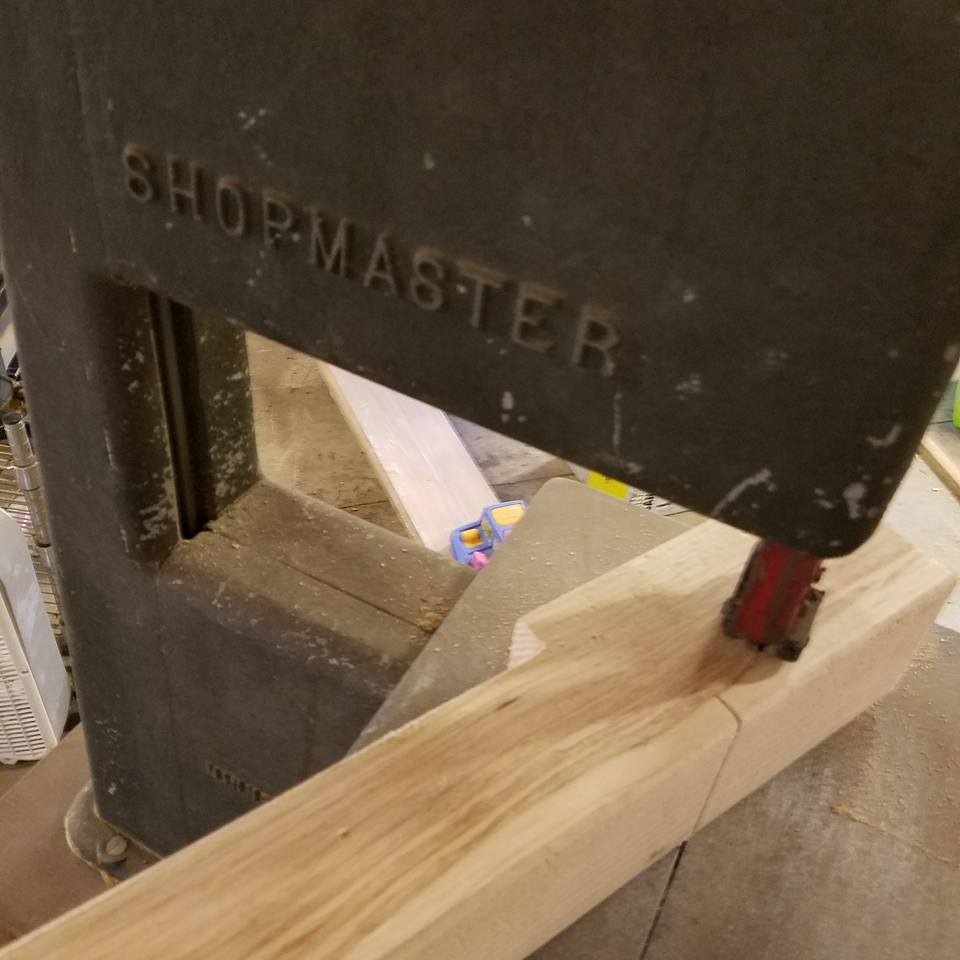
Using a band saw, I cut the shape out.
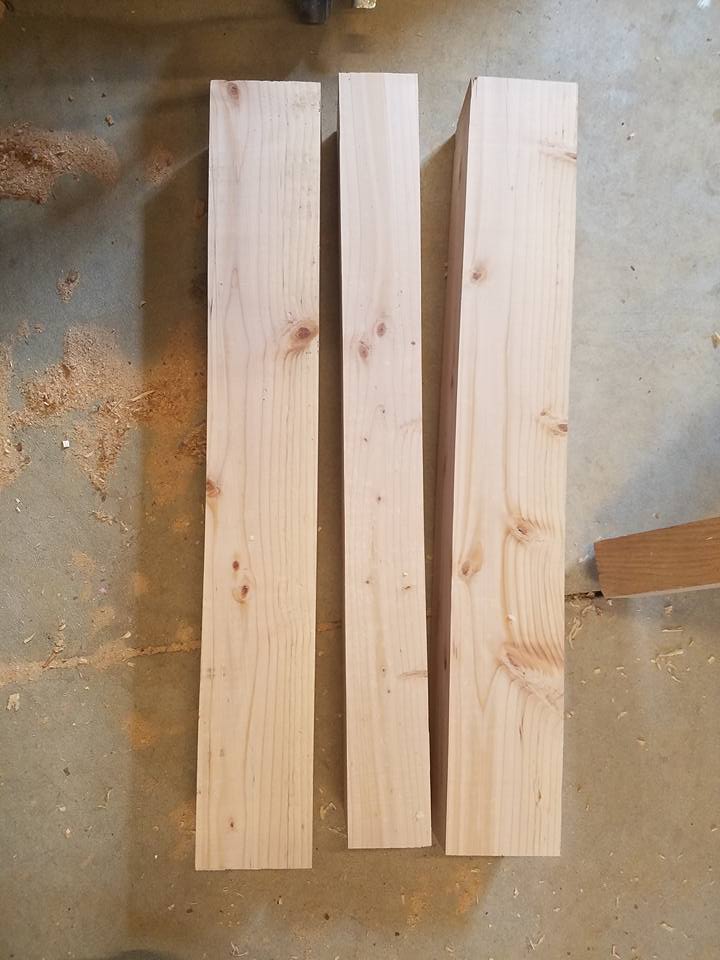
Next, since the table top is so wide, I cut 5 pieces of 4×4 at 22″. Then I split one of them in half by running it through the table saw cutting 2″ on the top and 2″ on the bottom. I used my jointer to square up all 6 pieces and glued and clamped them together.
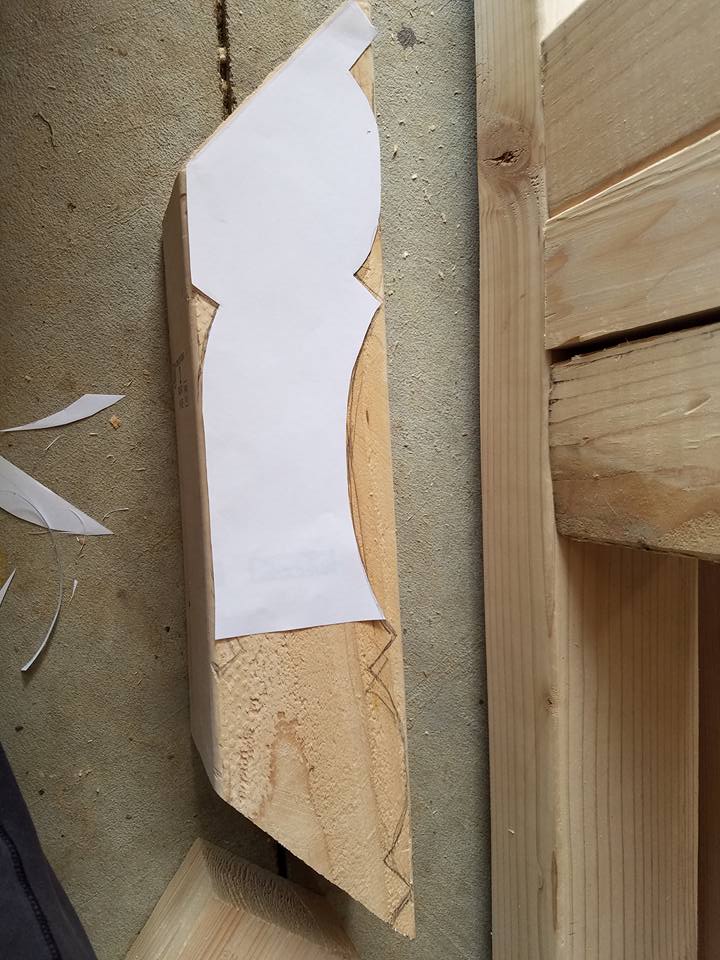
I stood them up on the 42″ table base to measure and design the decorative pieces. Then I cut 8 pieces to length, made a template out of paper, traced it onto all 8 pieces and cut them on the band saw. Then I used a belt sander to sand the curved edges and went over all pieces with my orbital sander and 220 grit sandpaper.
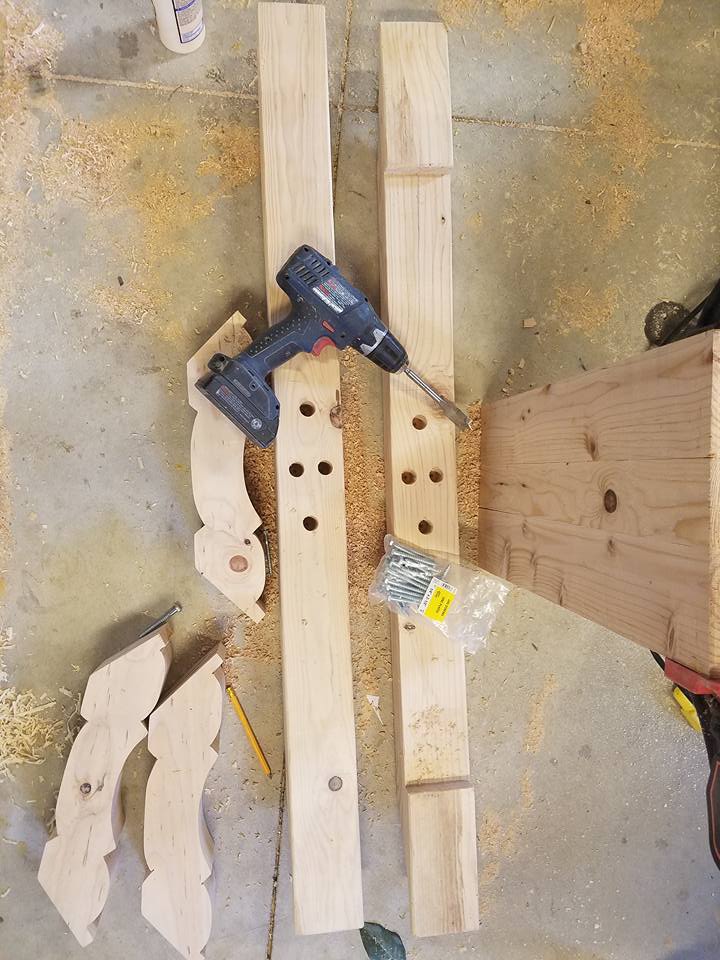
I decided to attach the feet, center portion, and top together with lags. I drilled with a spade bit half way through the top and a 1/4 way through the base. Then I drilled the rest of the way in with a regular drill bit. After centering the everything up, I countersunk the lags into the feet and the top.
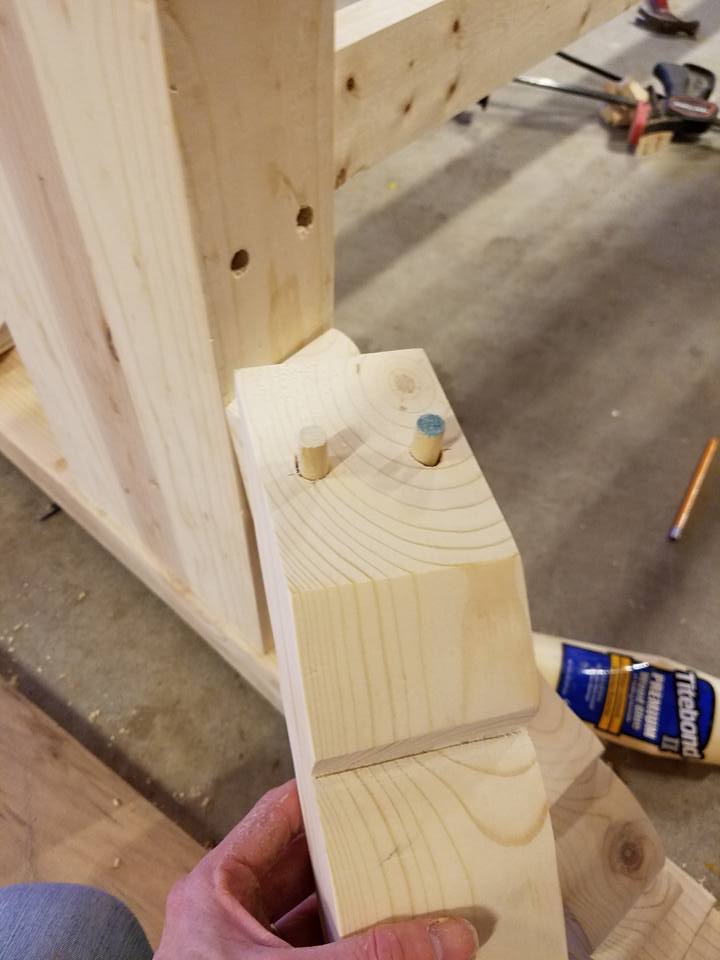
I attached the decorative pieces with dowel rods and glue into the sides and finish nails into the feet and top piece.
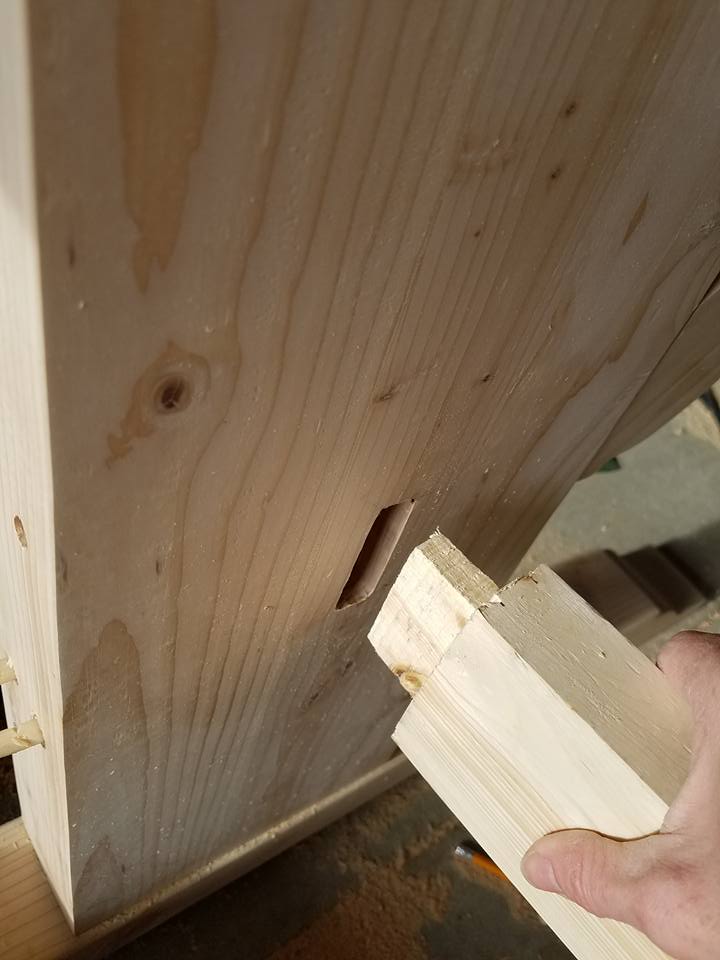
To figure the table span, I used my table top length of 108″ and subtracted 30″ for a 15″ overhang on each side. Then I subtracted 7″ for the 3 1/2″ wide bases.
I squared up a 2 x 4 and cut it to length + 3″. I created a 1 1/2″ tenon on each side on the table saw. See how I make mortise and tenon here. Then I squared up 2 more 2 x 4’s and cut them to length and fastened them into the top with a kreg jig. I used 3/4″ bar clamps to hold everything in place while the glue was drying.
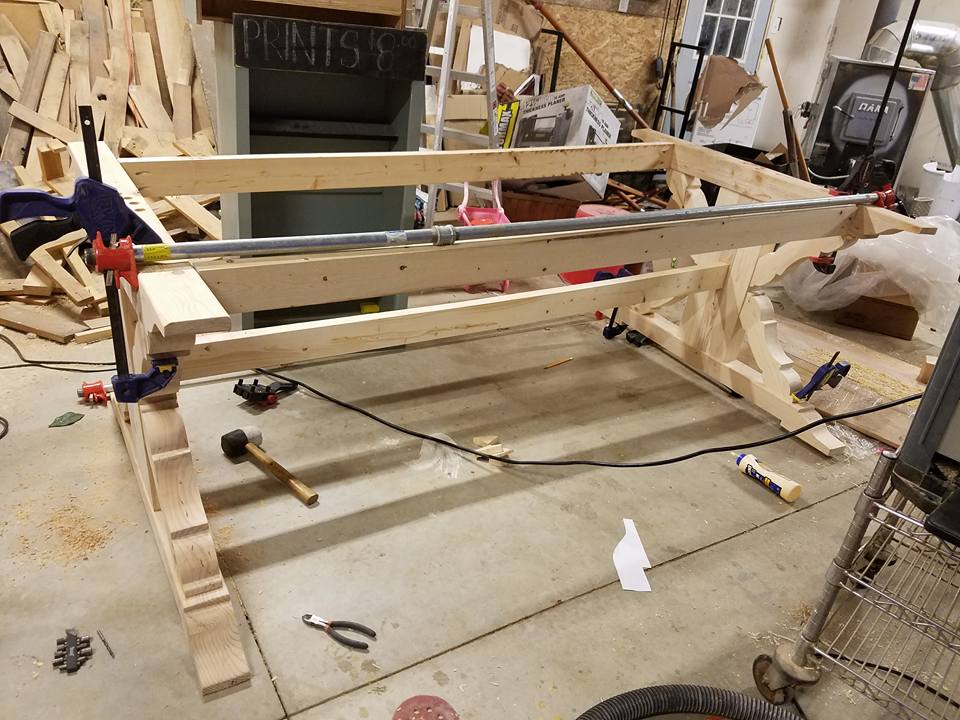
After everything was dry, I gave it a final sanding with 220 grit paper.
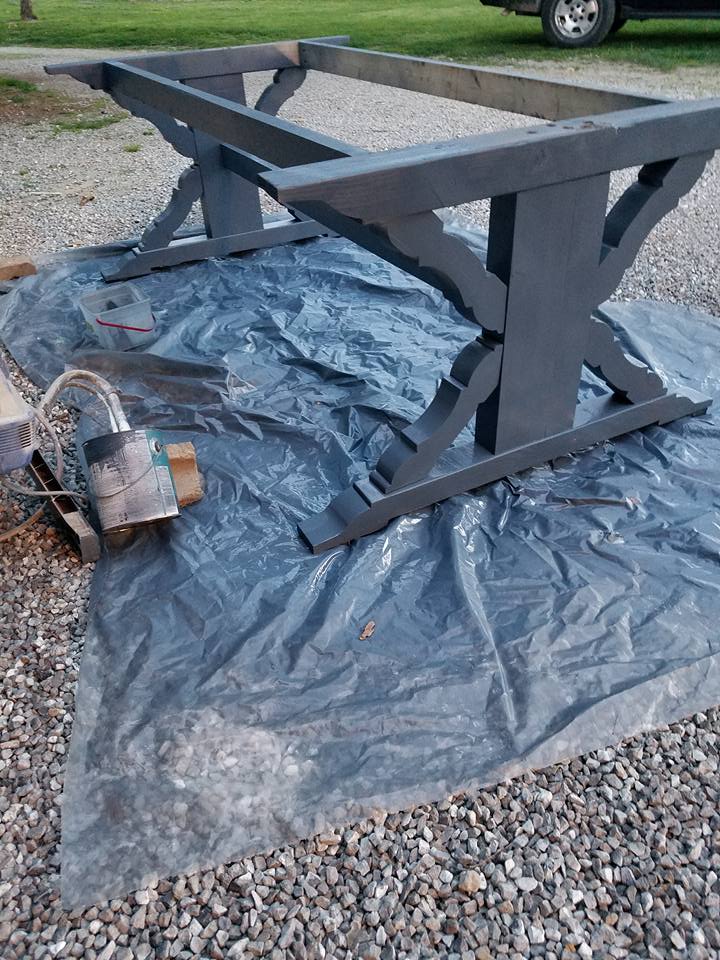
Since there were so many small cramped areas, I used a paint sprayer and hard surface enamel to spray the base dark blue. After it dried I gave it 48 hours of curing time.
The Top
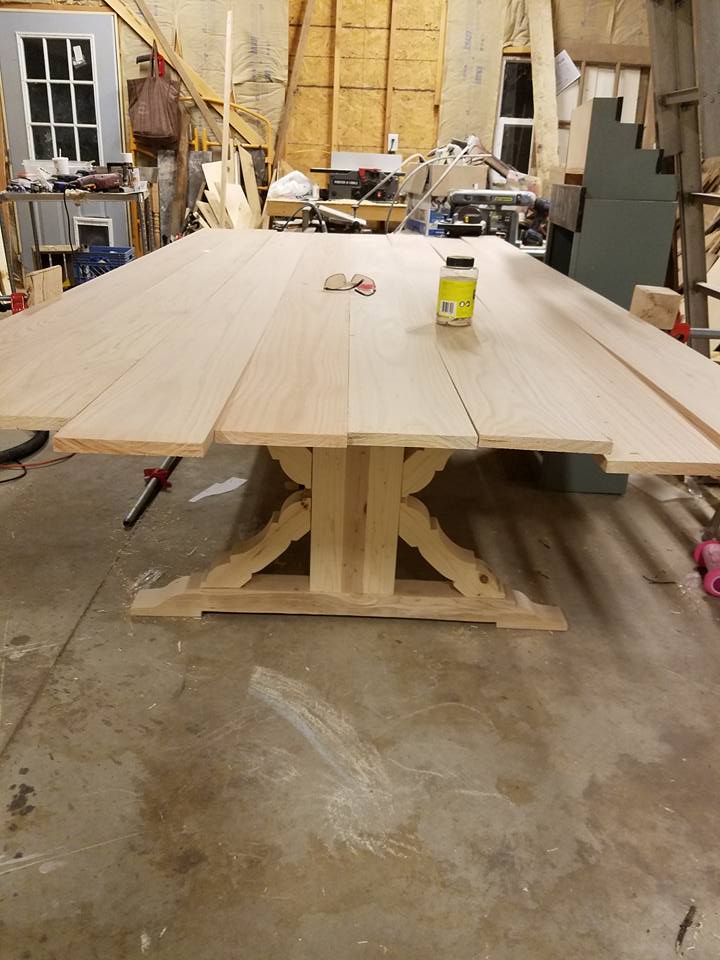
I like using a biscuit joiner on the table tops because it helps me align the boards. Kreg jigs work fine but it starts to get expensive on a top this size with the number of screws needed.
First align all the boards and place hash marks across all the boards where you will cut in the biscuit slots. Cut all the slots and glue and clamp the boards together. The wider the top, the trickier it is to join them all at the same time. If you need, you can glue the boards together a few at a time.
I used a 3/4″ pipe clamp to hold them all together while they dried.
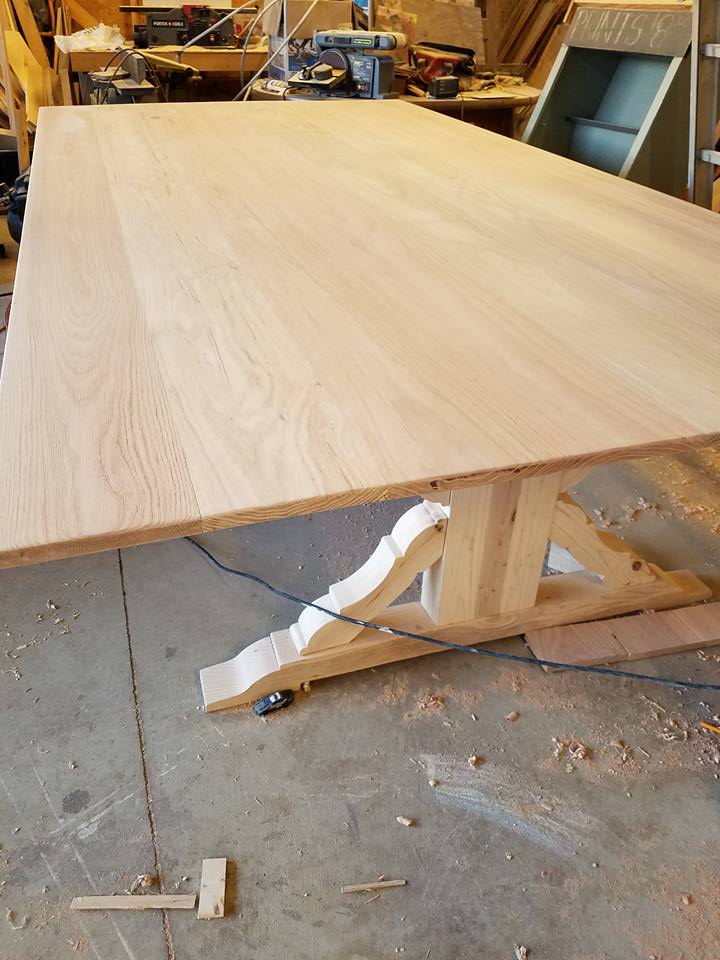
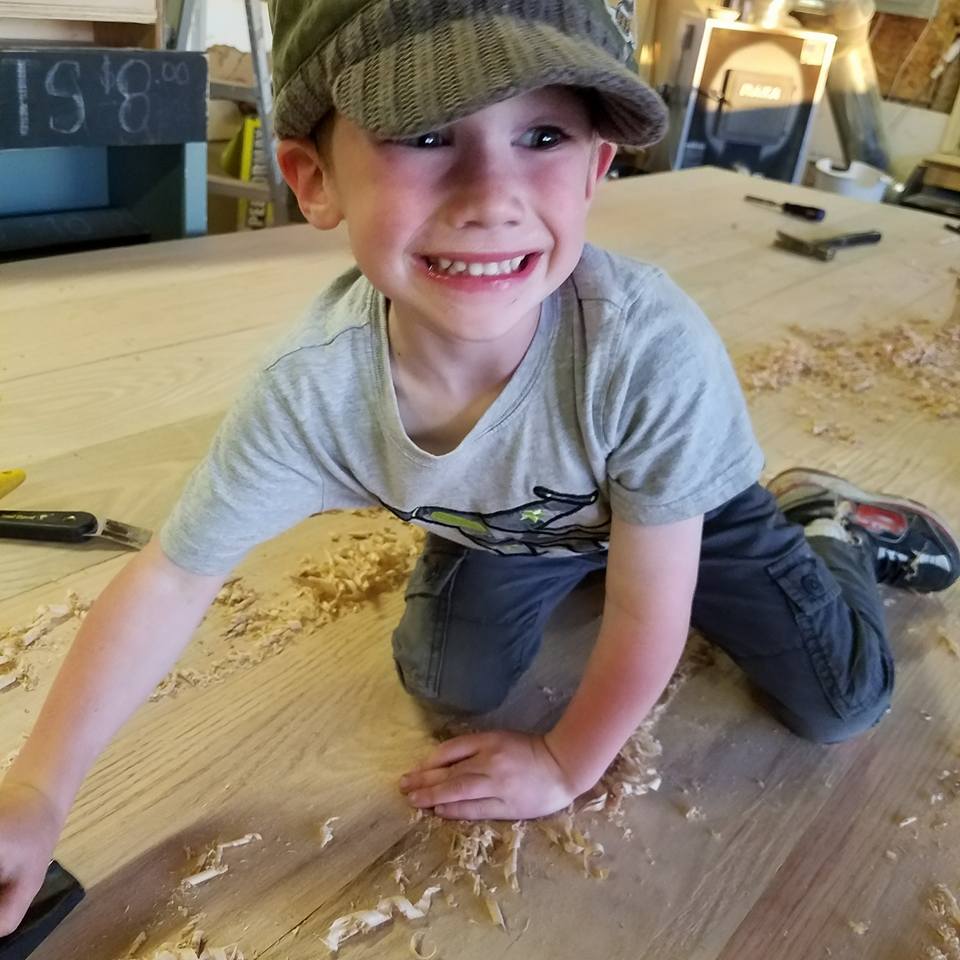
After the table has dried, use a hand plane to smooth any uneveness at the joints.
https://www.youtube.com/watch?v=I3L2K8aB3wg
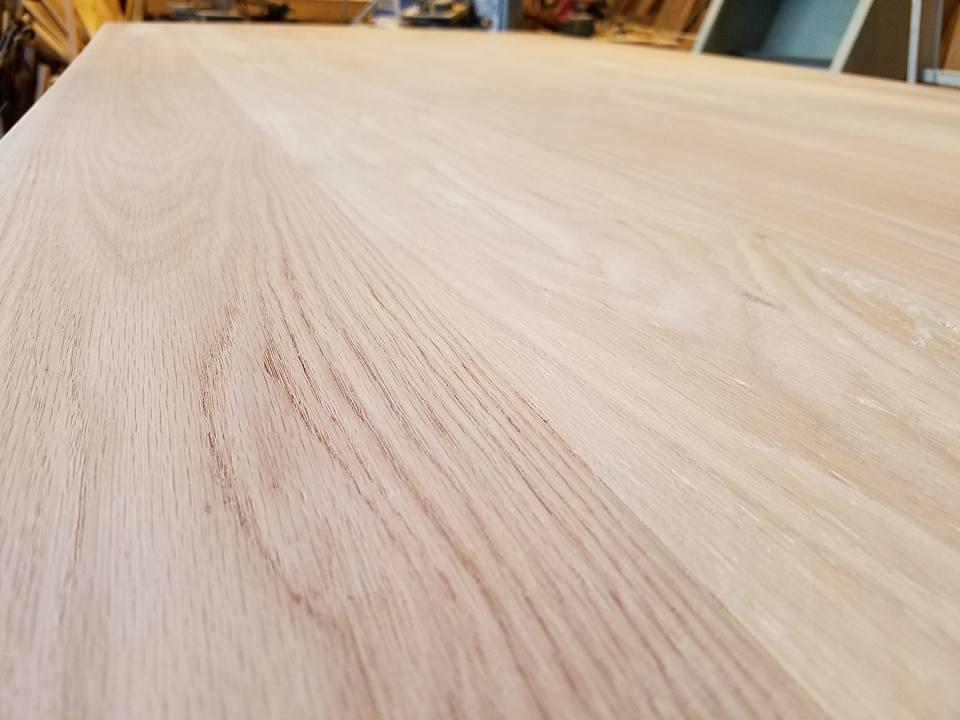
Sand with 80 (if needed) then 120 and 220 grit sandpaper. Sanding is boring but is key for a nice smooth finish. Apply a coat of stain and 2 coats of polyurethane. Sand lightly with 220 grit sandpaper in between coats.
Here are some finishing tips.
https://www.youtube.com/watch?v=UMdVflrU-g0
To connect the table to the base, follow instructions here.
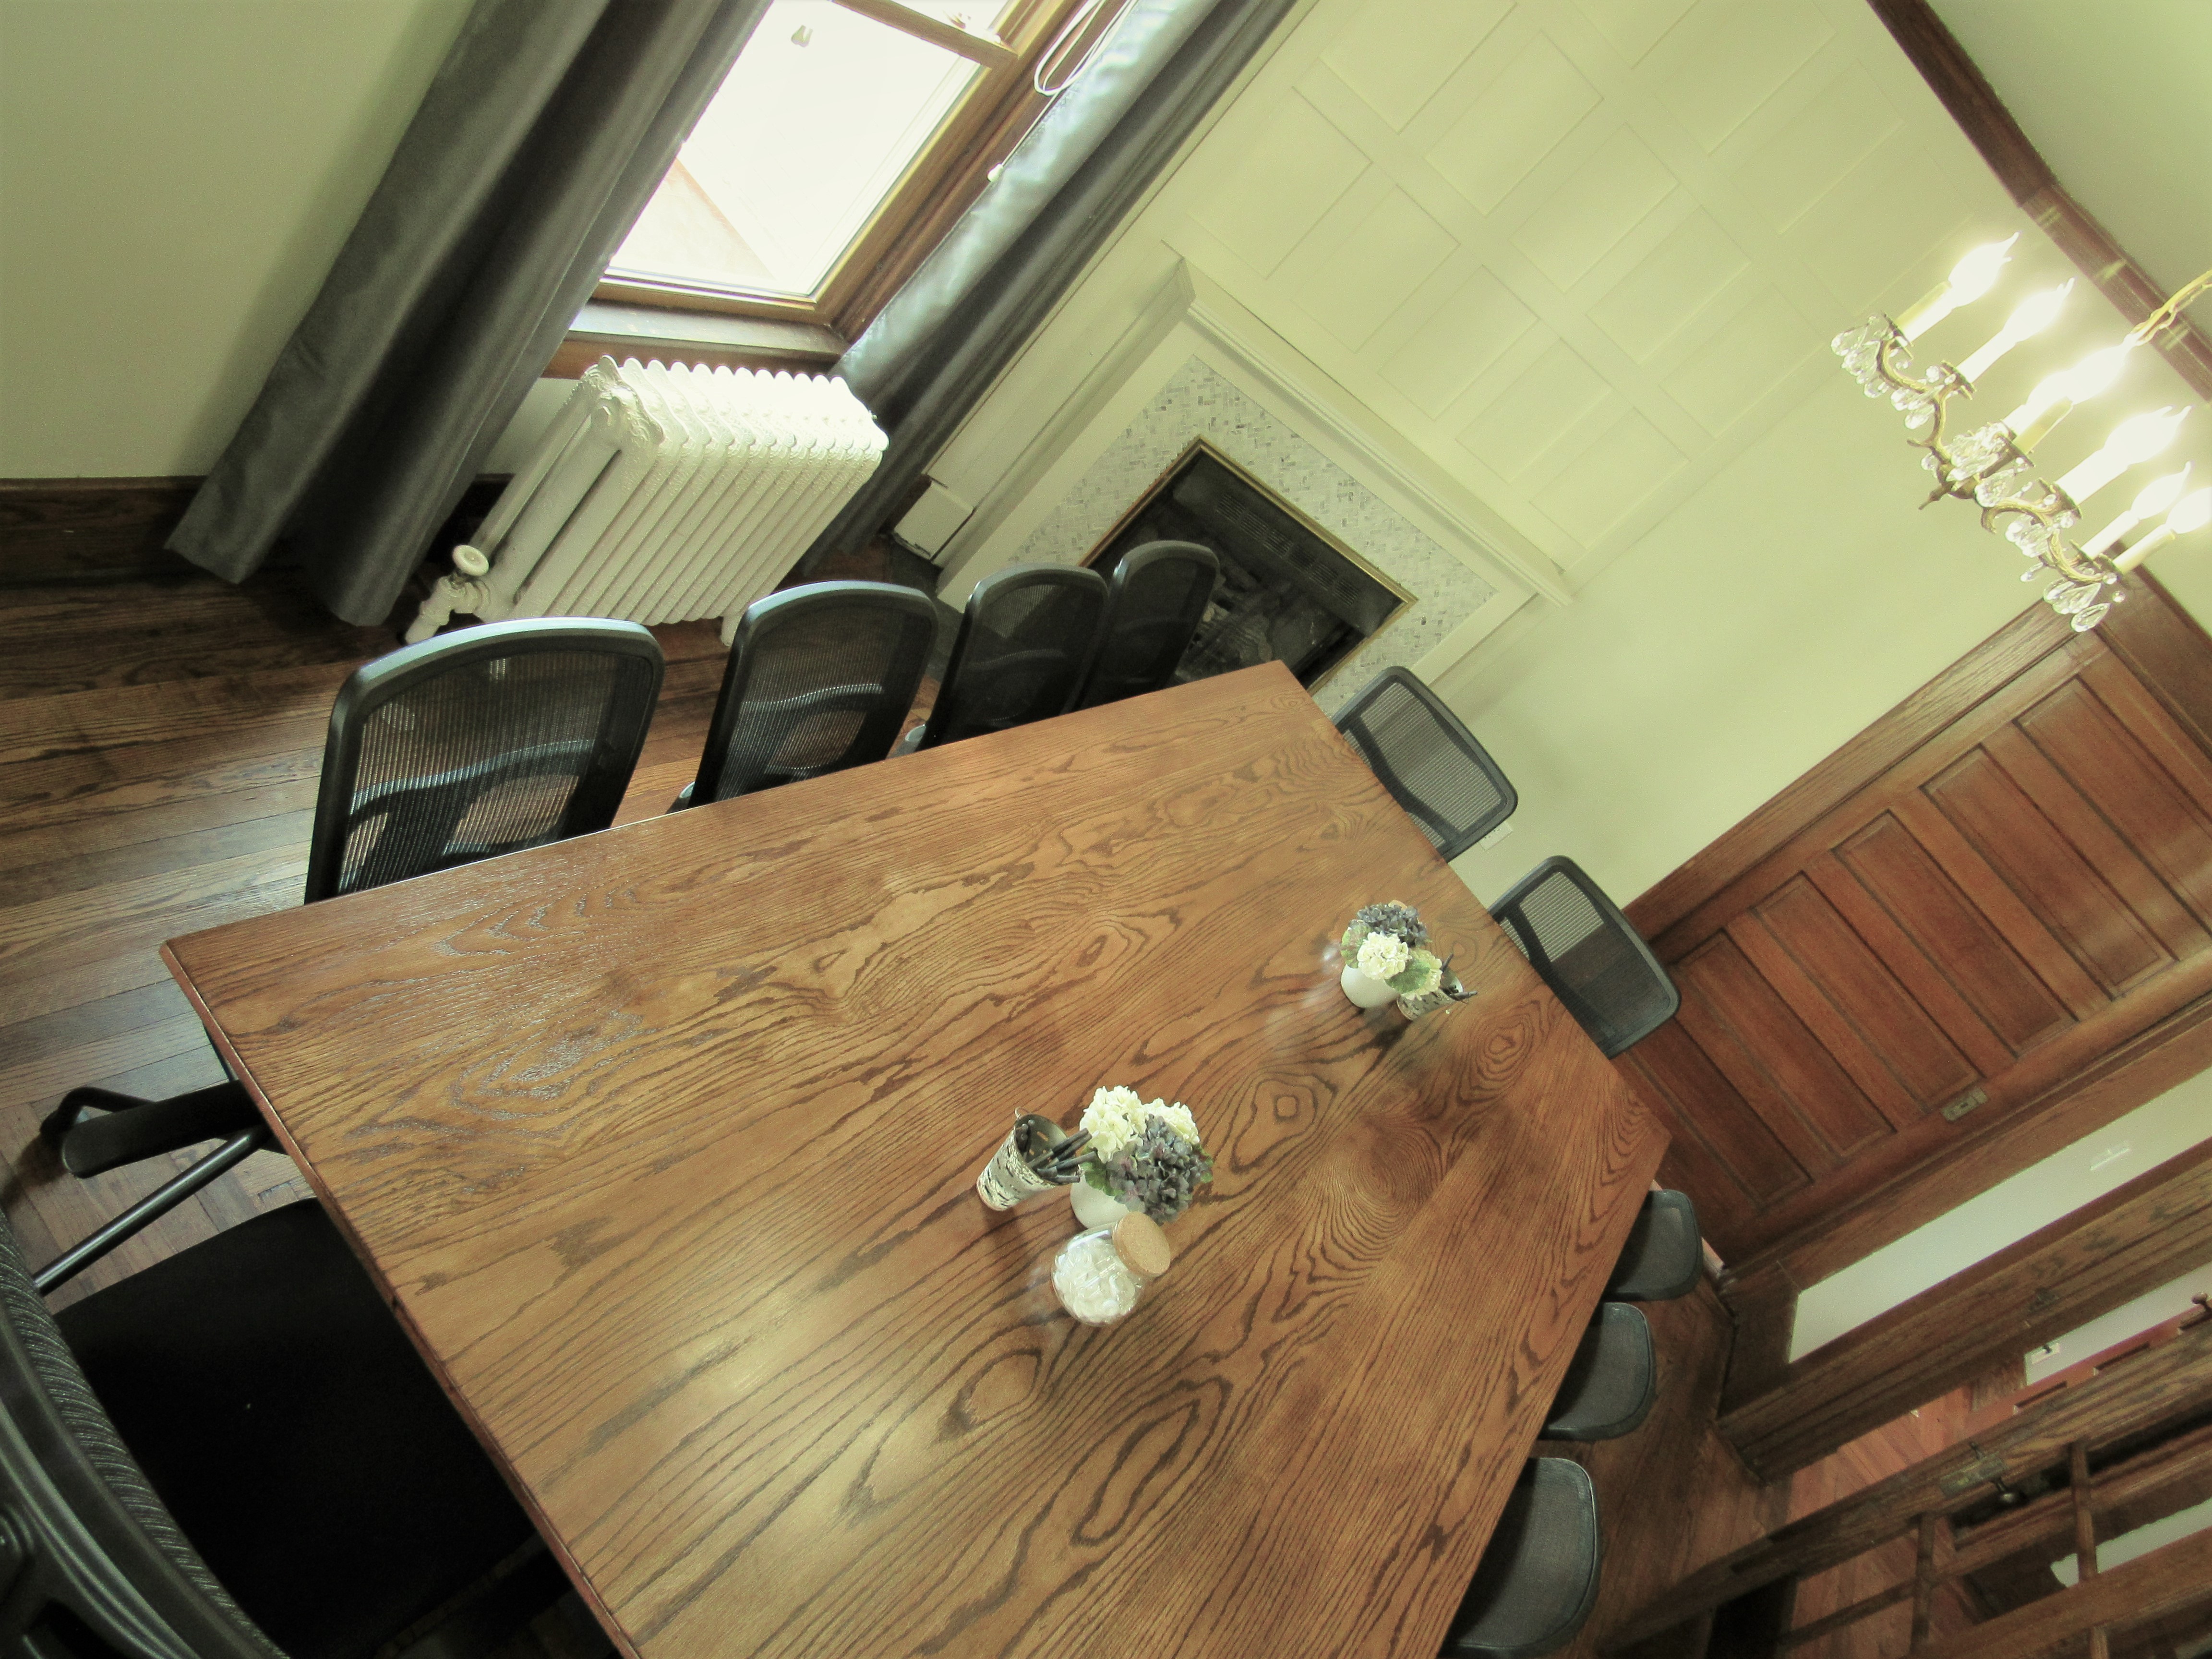
If you enjoyed these plans, follow me on social media!

Pingback: Conference Room - Lisa Laker Interior Design
My husband built a table like this last year! I love this one!!!
woah! This is super impressive! I love it!
This table is awesome! I love how big it is.
This is so amazing! It turned out so good, a real staple for the space!
I would love this table for my house!