Rustic Table Top

What you need for this Project
Disclosure: This post includes affiliate links, which means I receive a small commission if you make a purchase through my links. There is no extra cost to you. Purchasing through my affiliate links help support my website so I am able to continue posting free content.
1. Scrape, gouge, and add nail holes to the surface.
2. Sand with 220. Wipe down with a lint free cloth dampened with mineral spirits.
2. Sand with 220. Wipe down with a lint free cloth dampened with mineral spirits.
3. Apply 1 coat of minwax special walnut stain. Allow to dry.

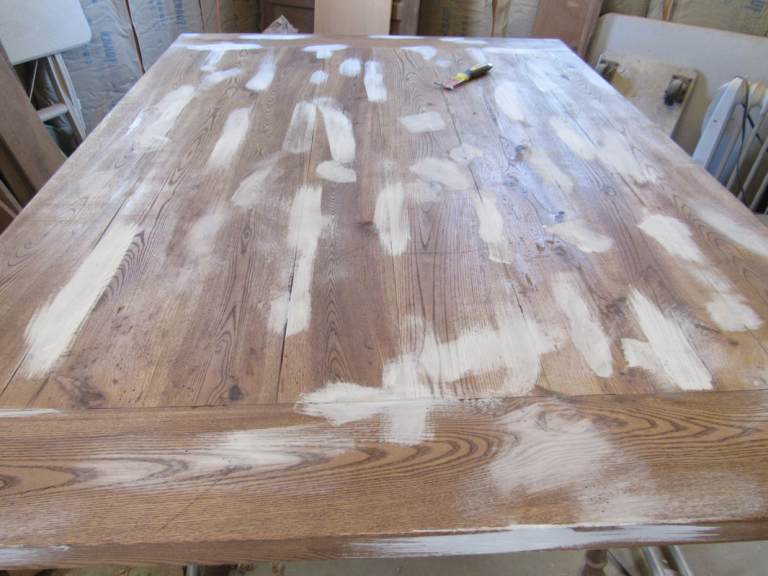
4. Paint splotches of white chalk paint. Allow to dry.

5. Sand with 220 grit paper removing a lot of the stain.
6. Wipe with lint free cloth dampened with mineral spirits.
6. Wipe with lint free cloth dampened with mineral spirits.

7. Apply 1 coat of minwax classic gray stain.
8. Allow to dry.
8. Allow to dry.

9. Sand lightly with 400 grit paper.
10. Wipe down again with clean, lint free cloth dampened with mineral spirits.
11. Apply 1 thin coat of polyurethane. Allow to completely dry.
12. Sand AGAIN with 400. Wipe down with clean, damp, lint free cloth.
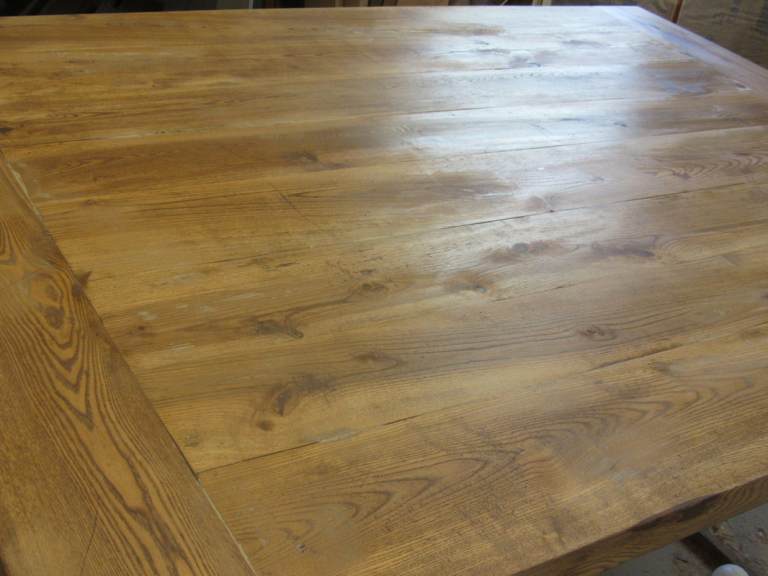
13. Apply 1 or 2 more coats of polyurethane.
10. Wipe down again with clean, lint free cloth dampened with mineral spirits.
11. Apply 1 thin coat of polyurethane. Allow to completely dry.
12. Sand AGAIN with 400. Wipe down with clean, damp, lint free cloth.
13. Apply 1 or 2 more coats of polyurethane.
