
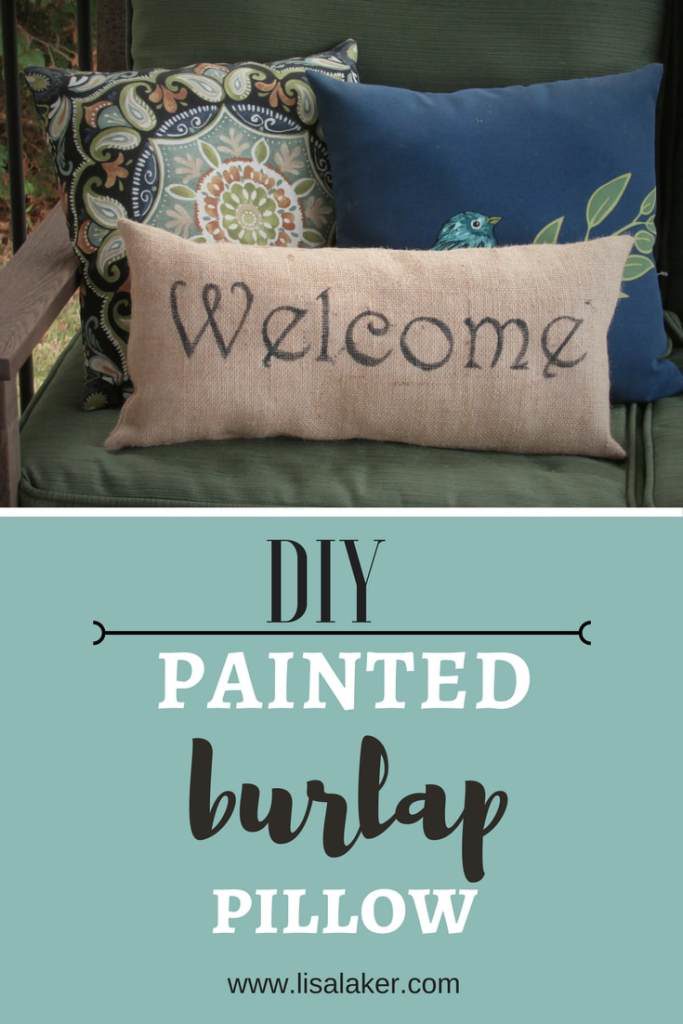
DIY Burlap Pillow
Tools:
Scissors
Computer and Printer (or access to one)
Small Paint Brush
Sewing Machine
Needle and pins
Materials:
1/2 Yard Burlap (if buying through this link, you need 2)
Acrylic Paint
1/2 Yard Liner
Thread
Pillow Stuffing
**Save Money by using an old bed pillow. Run it through your washer and dryer to clean it and fluff up the stuffing. Tear out the stuffing and reuse the fabric!
Disclosure: This post includes affiliate links, which means I receive a small commission if you make a purchase through my links. There is no extra cost to you. Purchasing through my affiliate links help support my website so I am able to continue posting free content.
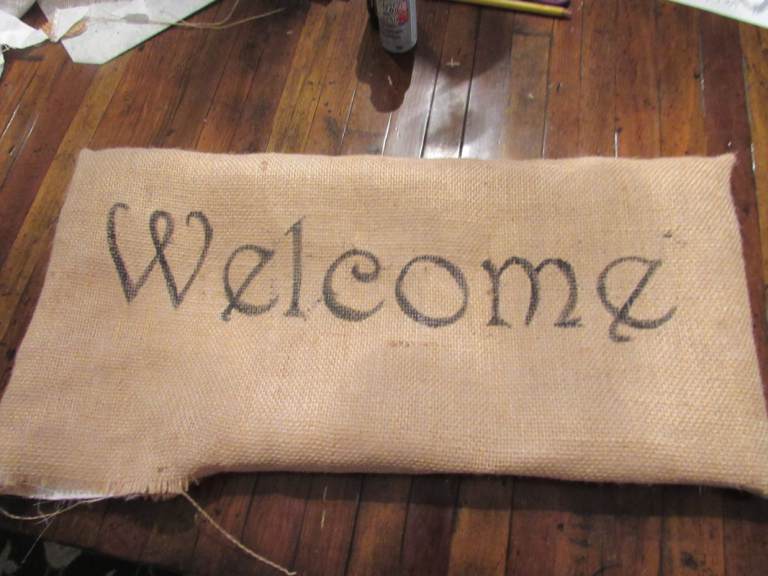
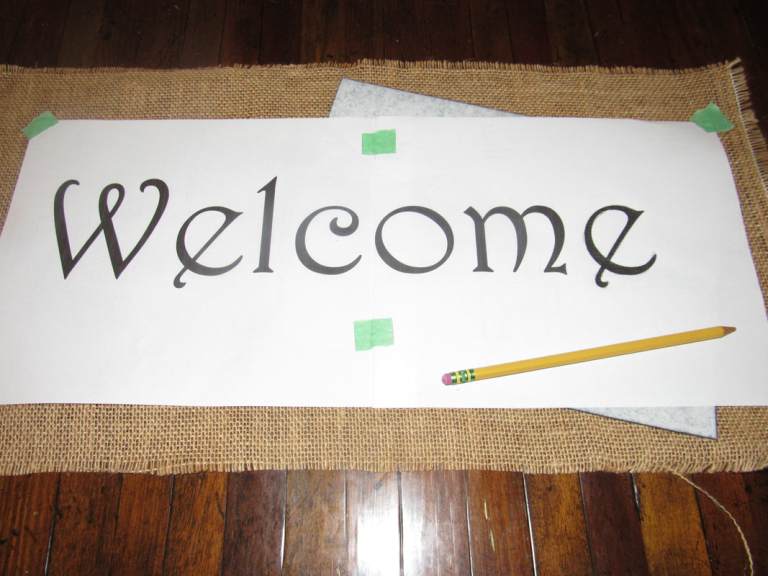 Remove one strand of burlap. Set aside. Print the word Welcome in your desired font and desired size. This font is Harrington.
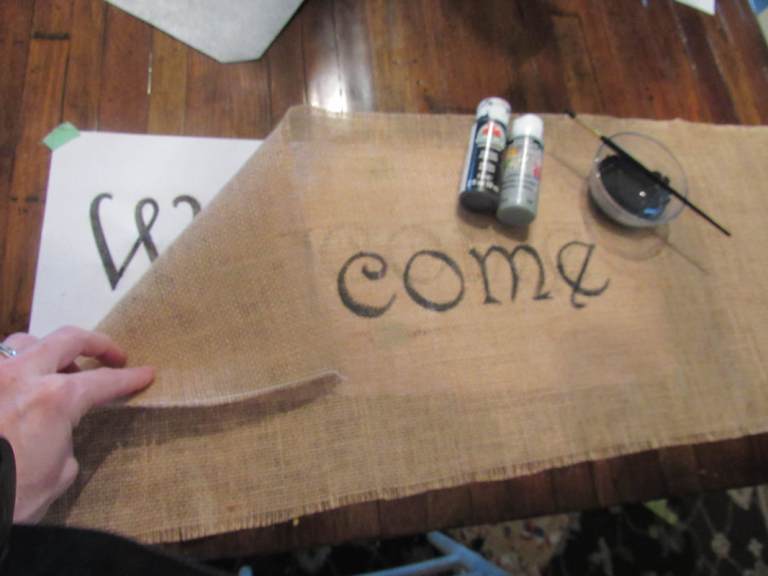
Cut your burlap 2″ larger than your desired pillow dimensions. Center your print out underneath your burlap piece. Use acrylic paint to trace the word onto your burlap.
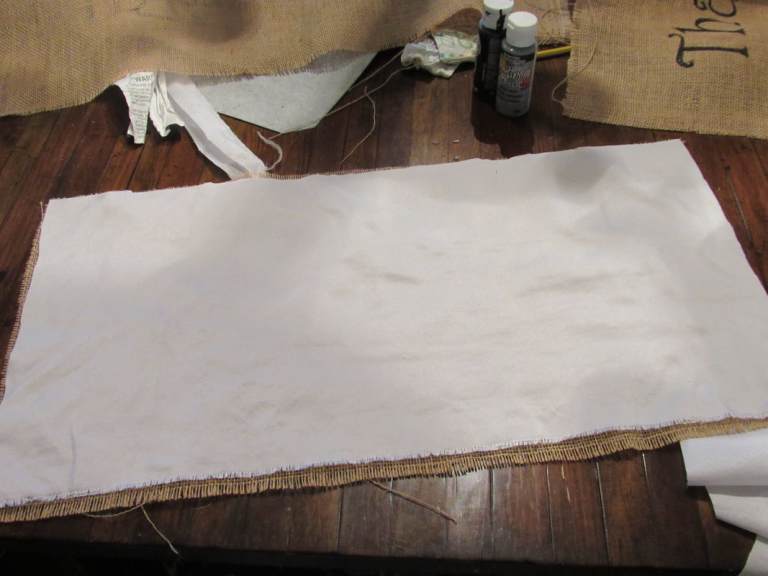
Cut another piece of burlap the same size. Since it is October, I am also tracing the word thankful on the back piece to make this pillow reversible. Cut two pieces of lining the same size as the burlap. Lay a piece of liner down, put one piece of burlap on top (word up). Put the next piece of burlap next (word down) and finally the last piece of liner.
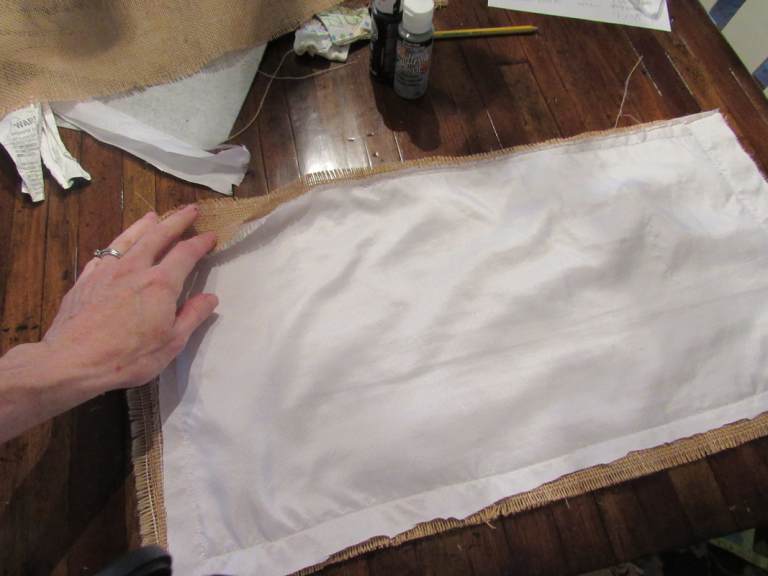
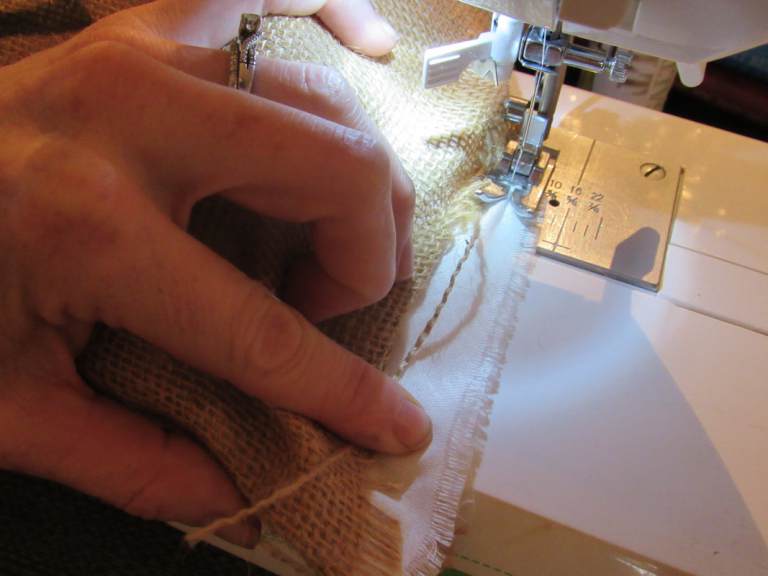
Sew along the side, the top, the other side and 2/3 of the bottom.
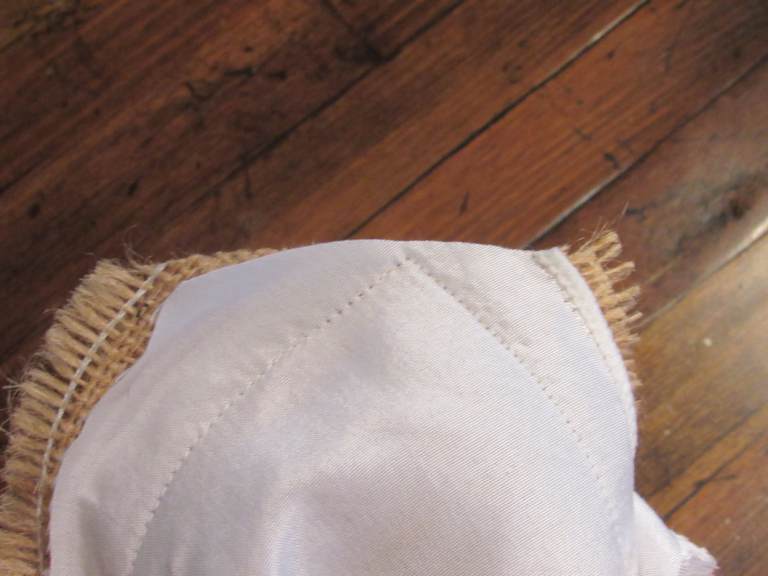
Clip the corners and turn the pillow right side out.
Fill the pillow with stuffing. Since burlap isn’t a cozy, comfortable fabric, there isn’t a need to use high quality stuffing. Nobody is going to lay their head on it.
Pull the burlap back and sew the liner shut.

Fold the edges of the burlap in and pin.
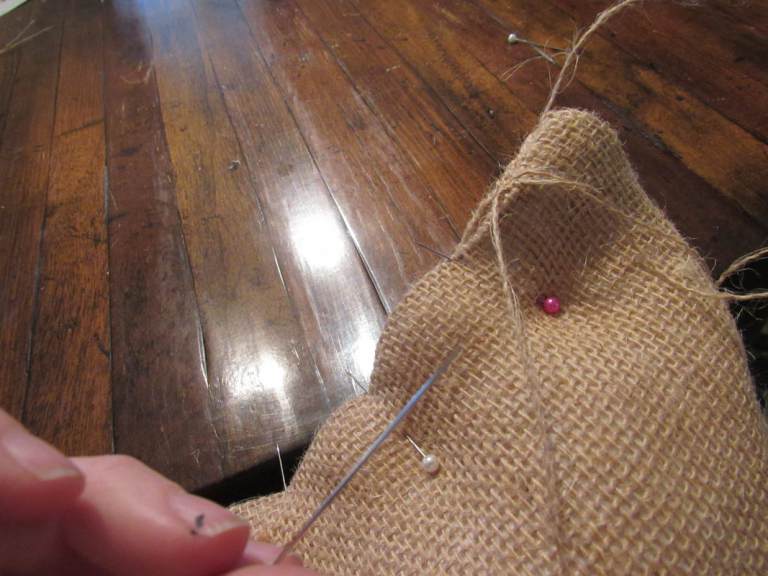
Use the strand of burlap and run the needle along the inside edge of the pillow. If you can keep your needle on the inside folds of the opening, the seam will be unnoticeable.