
Kitchen Island Fun
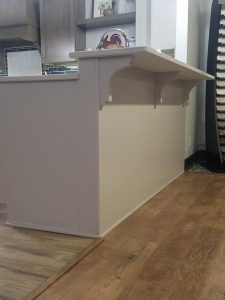
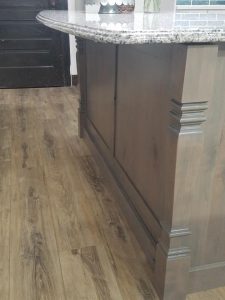
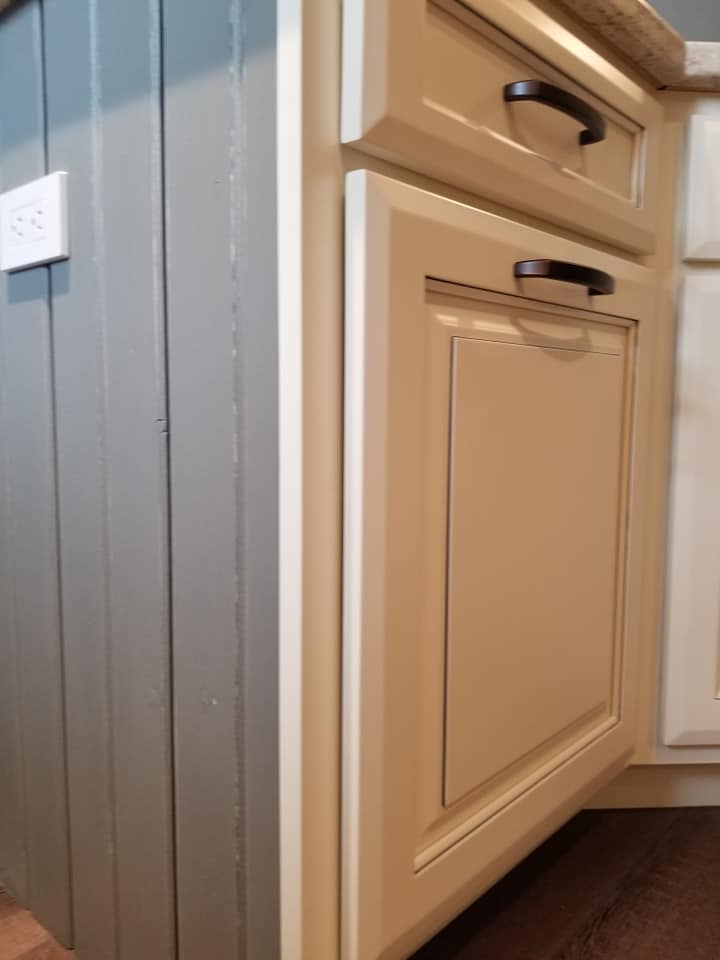
We typically specify two different kinds of back panels on our islands: flat or paneled. (pictured below) BUT for a homeowner who recently had each room in her home a different color, we decided to take a break from the norm and have a little fun!
The first step was to stain each board. There was no need to make sure it was perfect since the plan was to layer paint. We used minwax ebony.
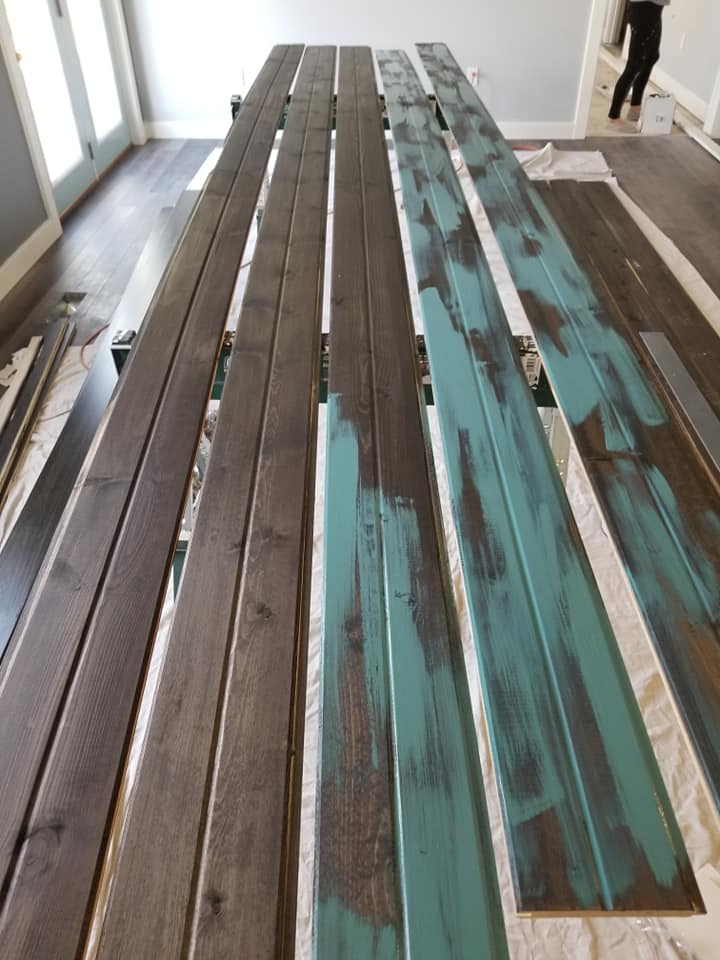
We allowed that to dry overnight and applied a very sloppy coat of PPG1148-6 Vining Ivy. We let that dry for a few hours then added another sloppy coat of SW alabaster to match her cabinets.
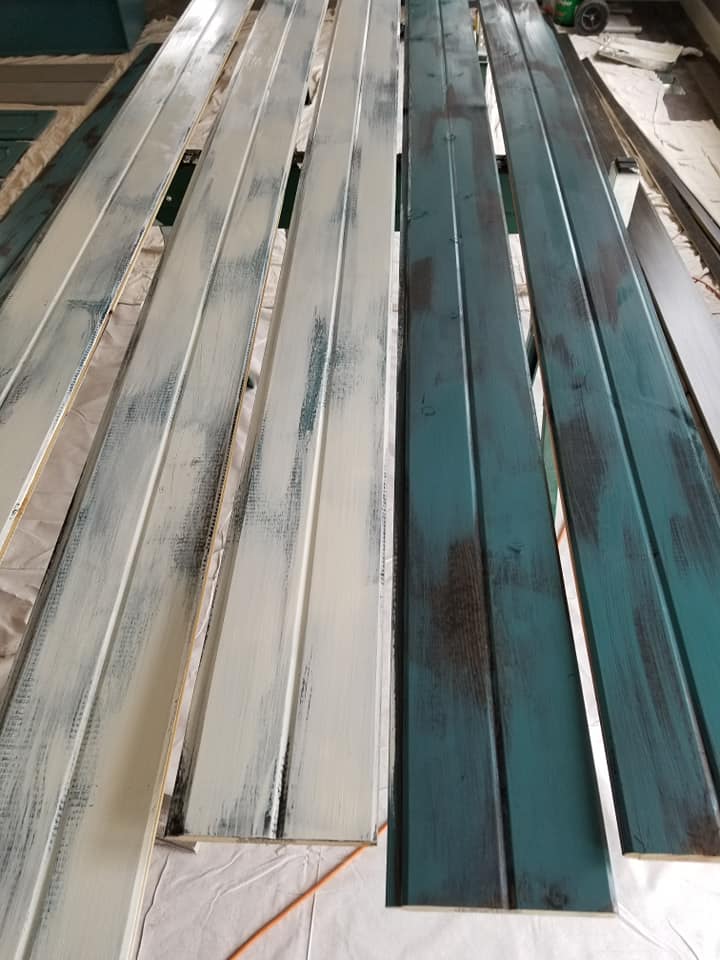
With an orbital sander and 120 grit paper, we sanded each board to remove some of the paint then nailed the boards vertically on the back of the island.
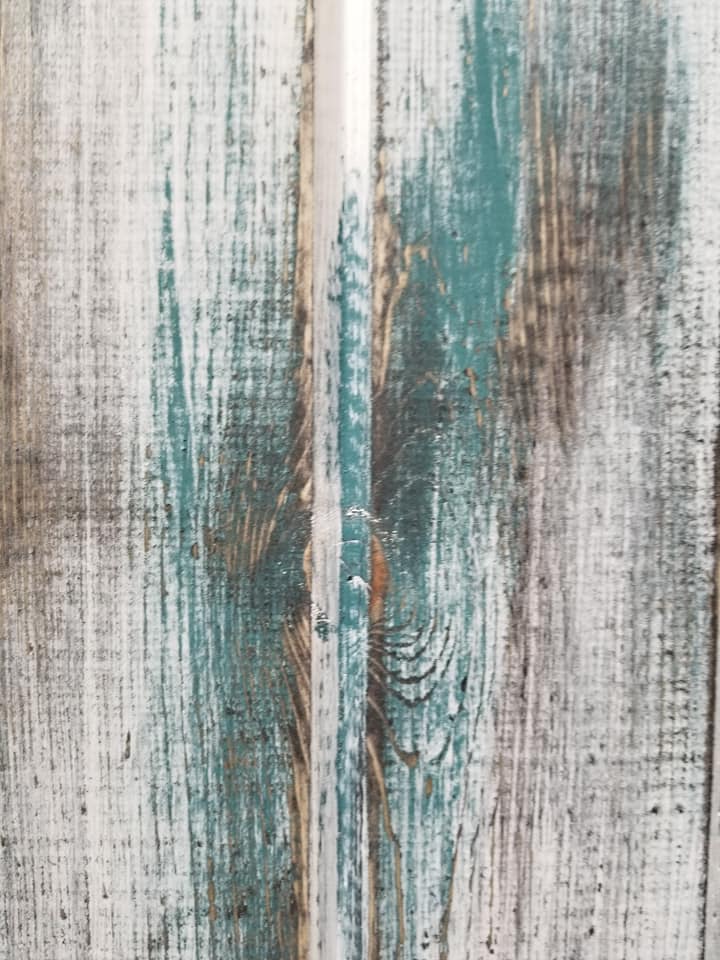
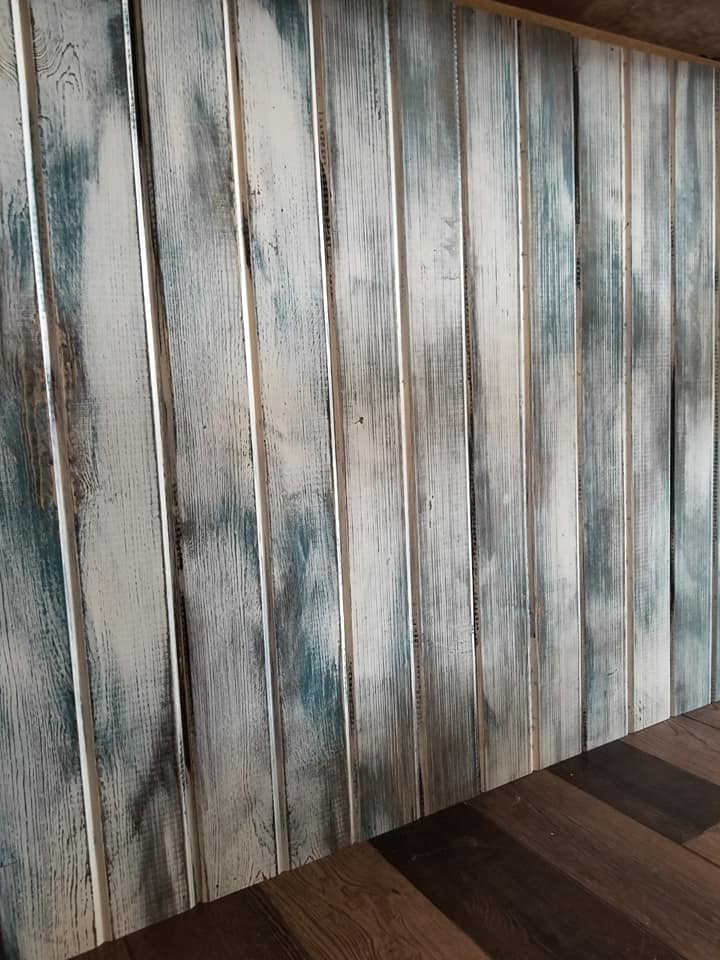
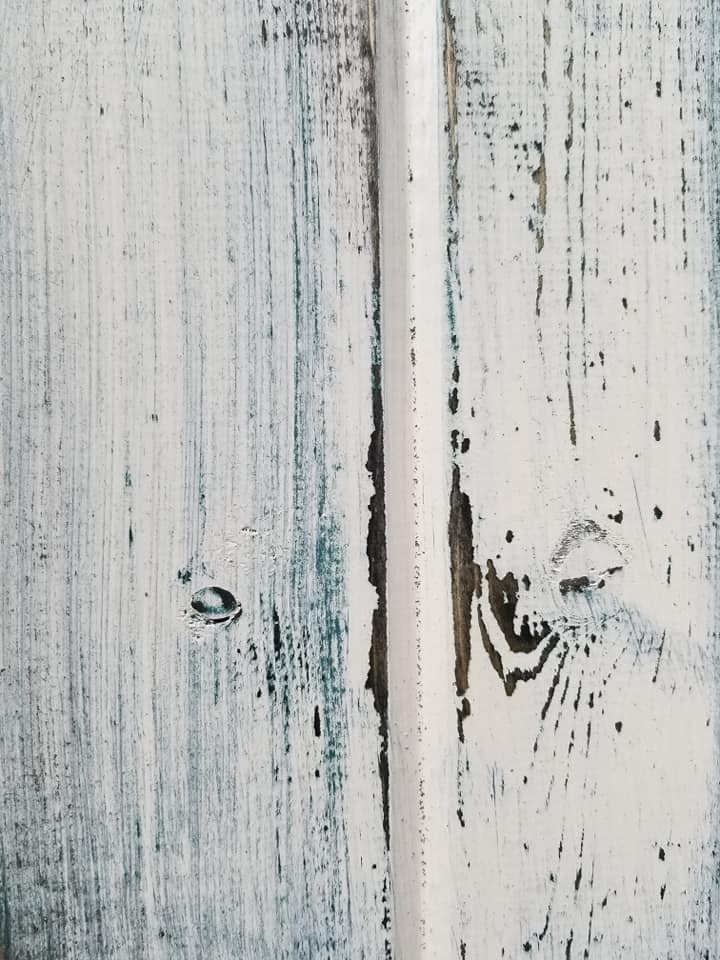
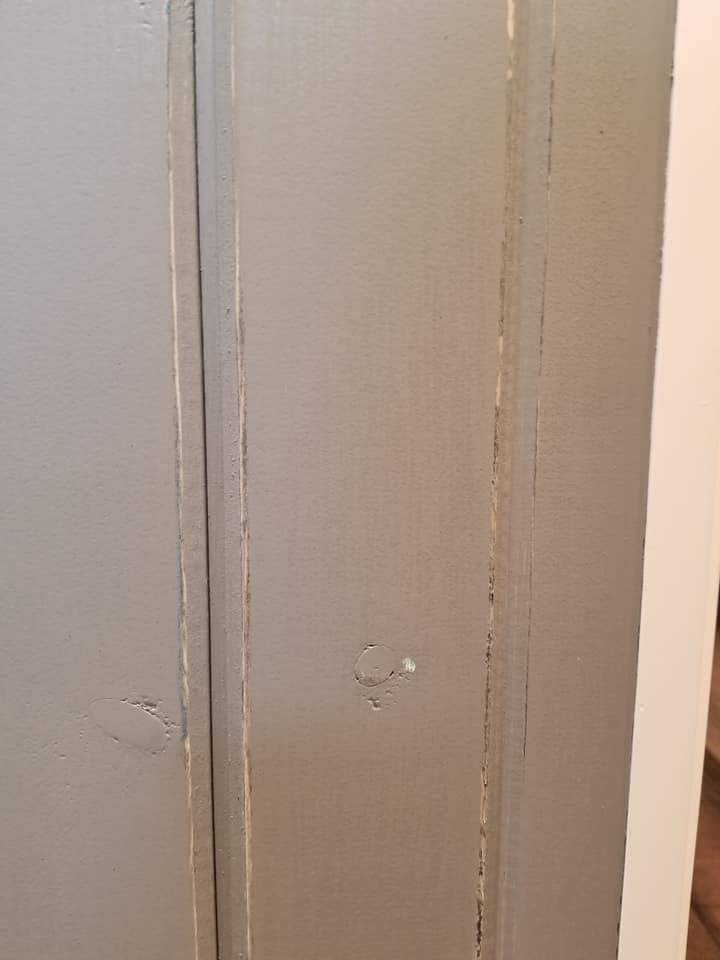
After the job was complete, we thought it looked a little too busy for the overall kitchen design. So I added another color: PPG1009-5 phoenix fossil. With just a 120 grit sanding block (only allowing an hour of drying time) I sanded lightly only along the edges revealing only slight amounts of the layered colors.
When it comes to islands backs, the sky is the limit. You can use ship lap, corrugated steal, pallet wood, tile, ect. especially in a great room where the island back will be easily seen.