Applied molding cabinet door
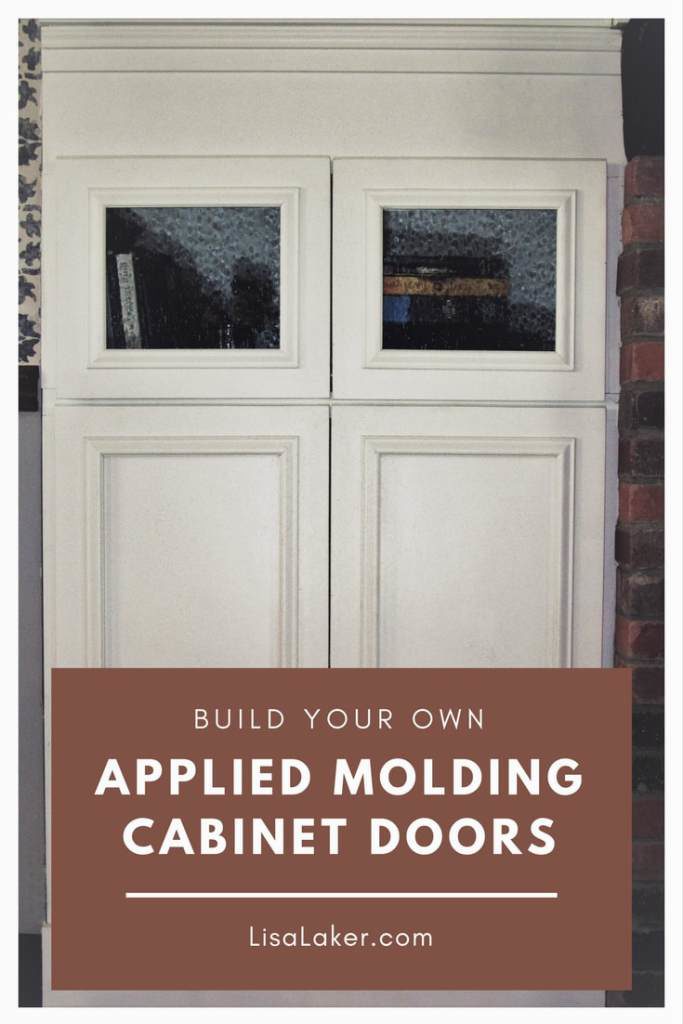
If you have a little experience with woodworking, building cabinet doors is fairly easy…time consuming, but easy. There are 3 different ways to build them.
- Flush inset is where the cabinet door sits inside the frame.
- Full overlay is where the cabinet door spans from the outside edges of the cabinet.
- Standard overlay is where the cabinet door is built to overlap the doors 1/2″.
I am building these standard overlay. This tutorial can be used for either.
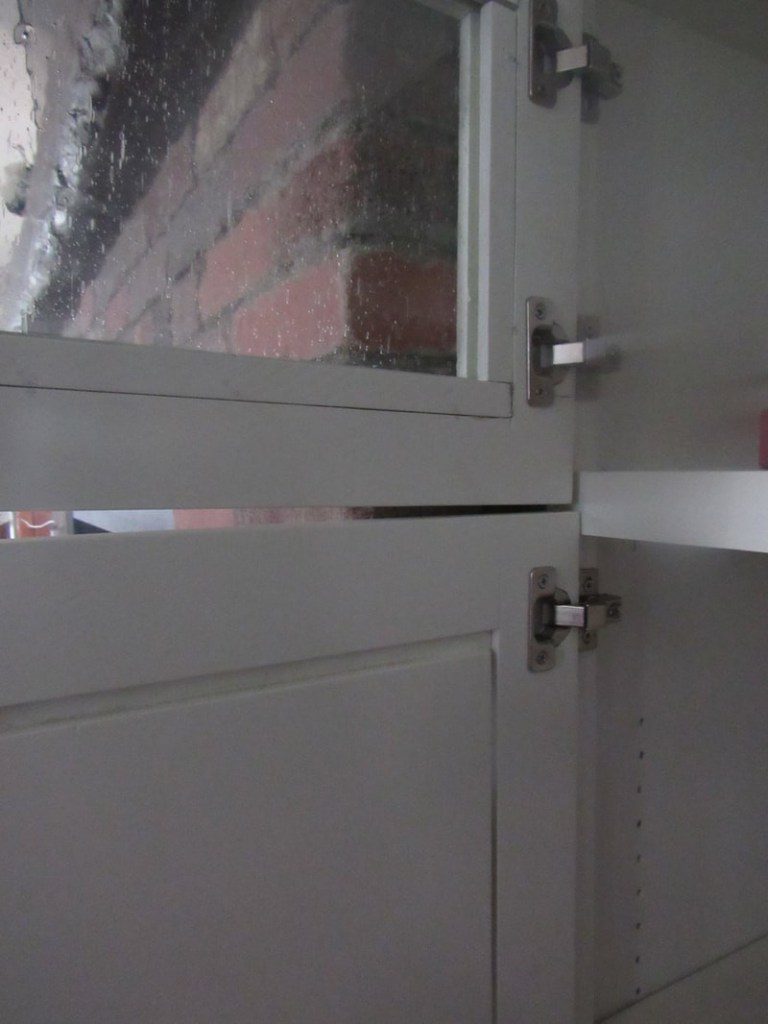
Hinges: there are many different hinges to choose from. The hinges I am using for this door are concealed hinges. By the name you are probably able to figure out that they aren’t visible from the exterior of the cabinet. They are made for different overlays, available in slow close, and have different options for how wide of an angle that the door can open.
I am building these doors standard 1/2″ overlay which means my door will overlap the face of the cabinet 1/2″.
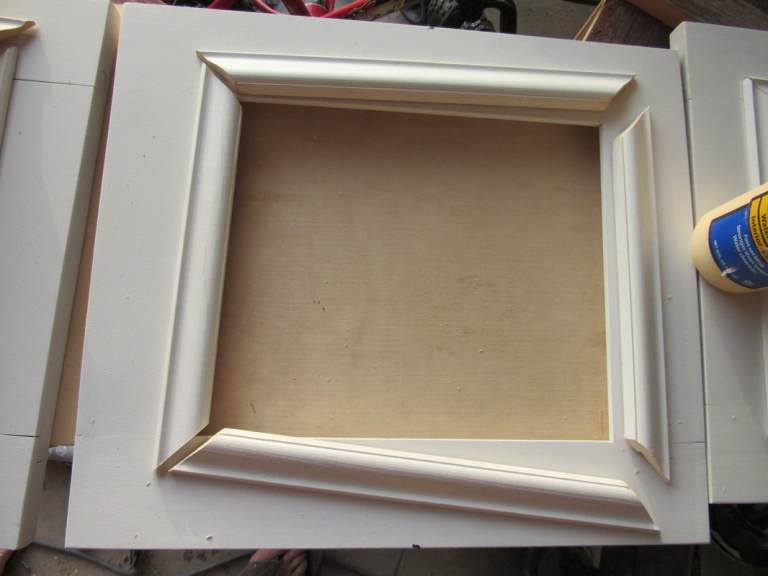
Recessed Panel Doors
1. To figure out door sizes:
Measure width and height of the cabinet opening. If you are building 2 doors for the opening (which you will need for opening over 24″) divide the opening by 2 and add 1/2″. For one door (24″w and under) add 1″ to your opening width. You can make the height whatever you want.
For your rails: door width – 2 x the stile width (typically 2 1/4-2 1/2) + 2. So a 15″ door made with a 2 1/2″ frame would be 15 – 5 + 2 = 12″.
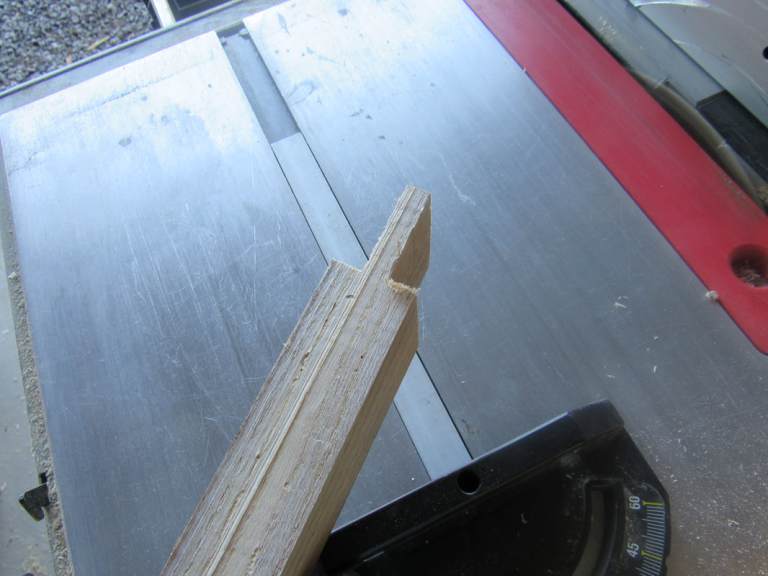
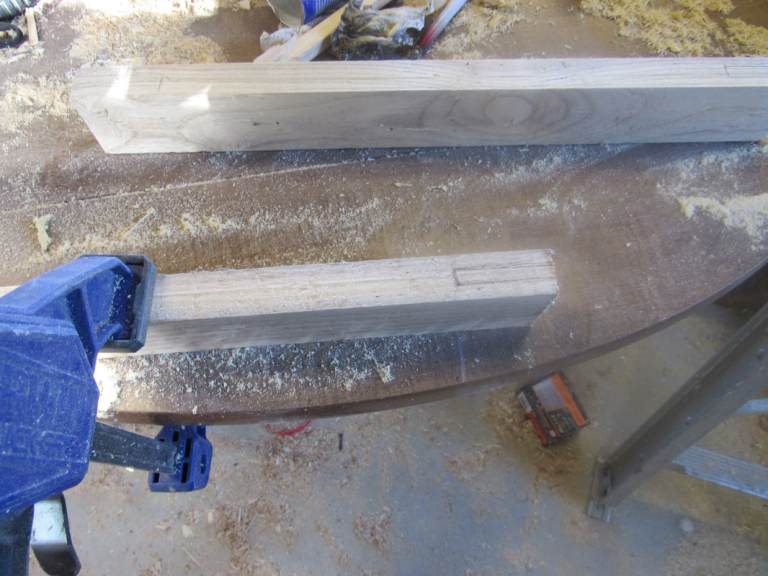
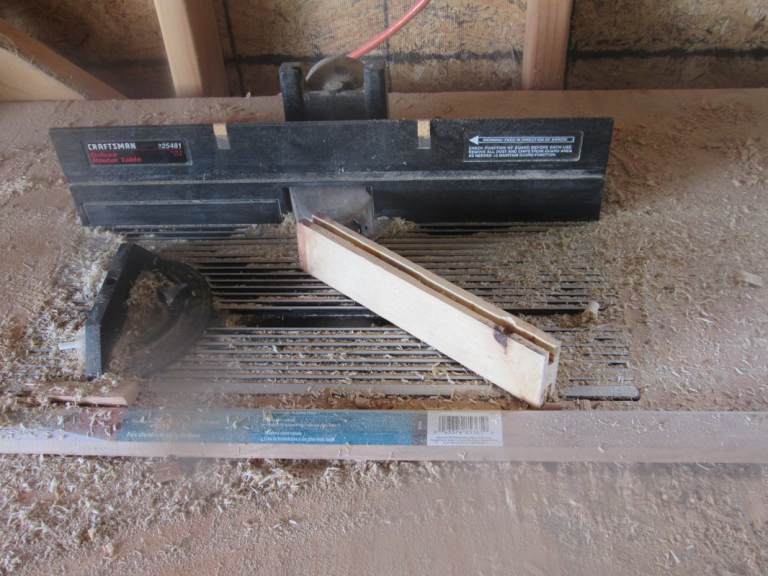
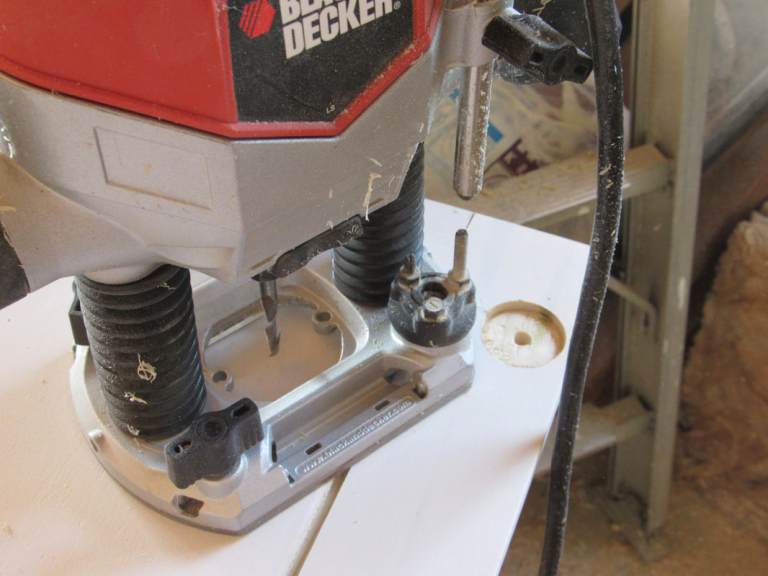
Set the fence on your table saw to 1″ (make sure the outside of blade is 1″ from the fence and set your blade 1/4″ high. Use the miter gauge to push the the ends of the rail through and then make several passes from the 1″ cut to the end. Do this to the top and bottom of both ends of each rail.

6. On a recessed panel door, the panel still needs to be 3/8 to 1/2″ thick. 1/4 thick panel in a base cabinet is way too flimsy and week (esp if you have kids.) Measure the inside frame of your door and add 1″. Cut the panel to size then rabbet the outside edges 3/4″ wide by 1/4″ deep. Make sure that the edge of the panel fits in your groove.
7. Get everything sanded with 220 grit paper. Paint or stain the inside panel before you assemble the cabinet door. If you don’t, when the panel contracts and expands you will see unfinished wood.
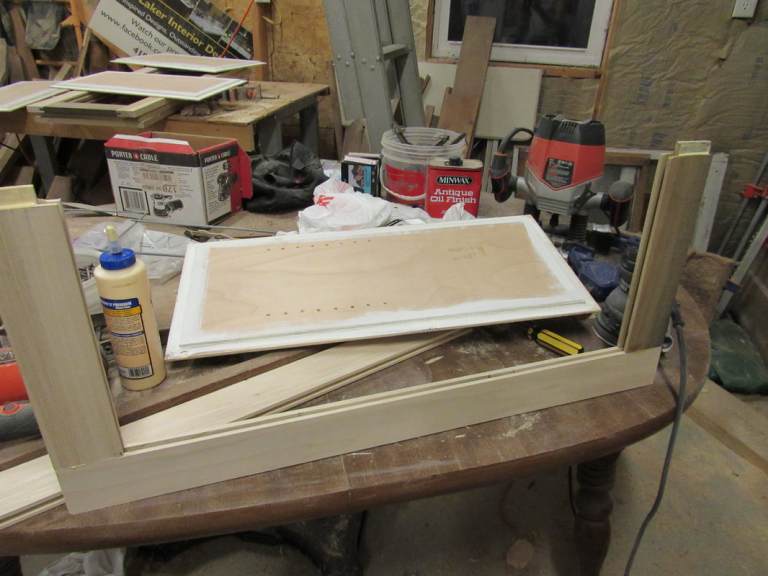
8. Apply glue to the front, back, sides, and bottom of the tenons. Slide them into one of the stiles. Then insert the panel (NO GLUE) and attach the other stile. Again, the inside panel needs to be able to expand and contract. Using glue will prohibit this and cause your door to crack or split. Clamp it together at the top and bottom and allow it to dry.
For Glass Doors
Repeat steps 1, 2, and 3 above.
4. Rabbet the inside of your rails 1/2″ deep and wide. Dry fit the door together and put marks on your stiles from the beginning and end of the rabbets on the rails.
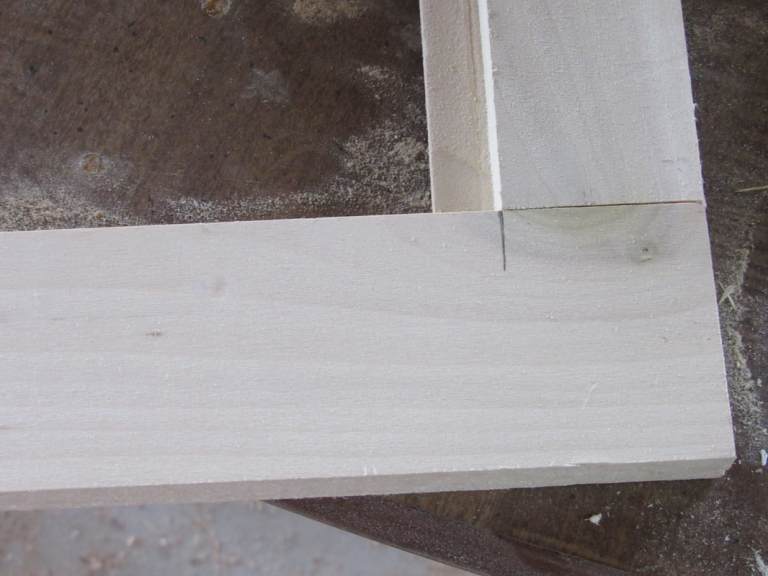
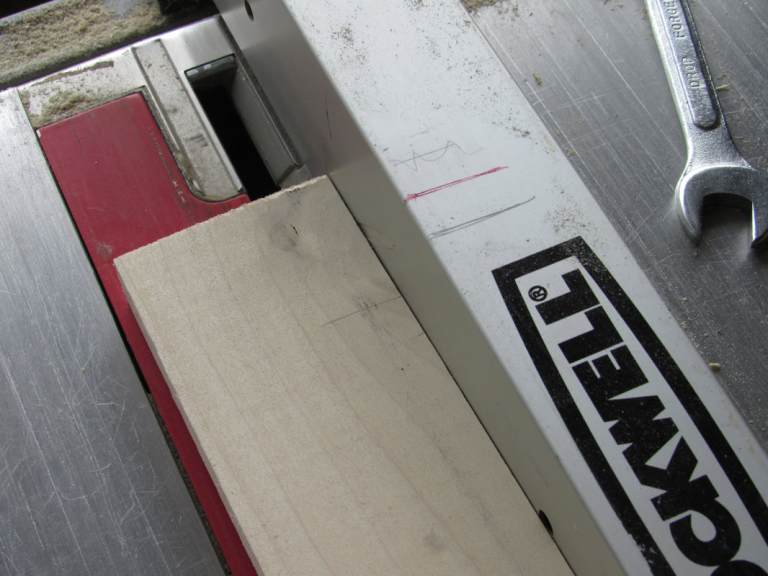
5. Transfer the mark to the front of the stile. I placed a mark on my fence where the blade starts to cut into the board. I line up the mark on the stile with the mark on my fence and slowly lower the board onto it. Then chisel or use my oscillating tool to square it up. There may be an easier way but I haven’t found it yet.
6. Then cut strips of wood 3/8″ x 3/8″ that will be used to hold the glass in place.
Repeat step 7, 8, and 9 above. When painting the doors, make sure that you paint your 3/8″ wood strips as well.
10. Then place your glass inside the frame and add the 3/8″ wood strips. Use a brad nailer to nail them into the side of the frame.
Then see step 10 above. Voila…you’re finished!